在对安全性要求比较高的业务,一般我们都需要部署SSL双向认证,下面我们以EMQX和HIVEMQ-CE为例,讲解如何使用同一套证书部署两个mqtt broker。
生成证书
1 | # 生成根证书密钥对 |
部署EMQX
使用docker部署,命令如下
1 | docker run \ |
配置文件内容如下
1 | ## NOTE: |
MQTTX测试
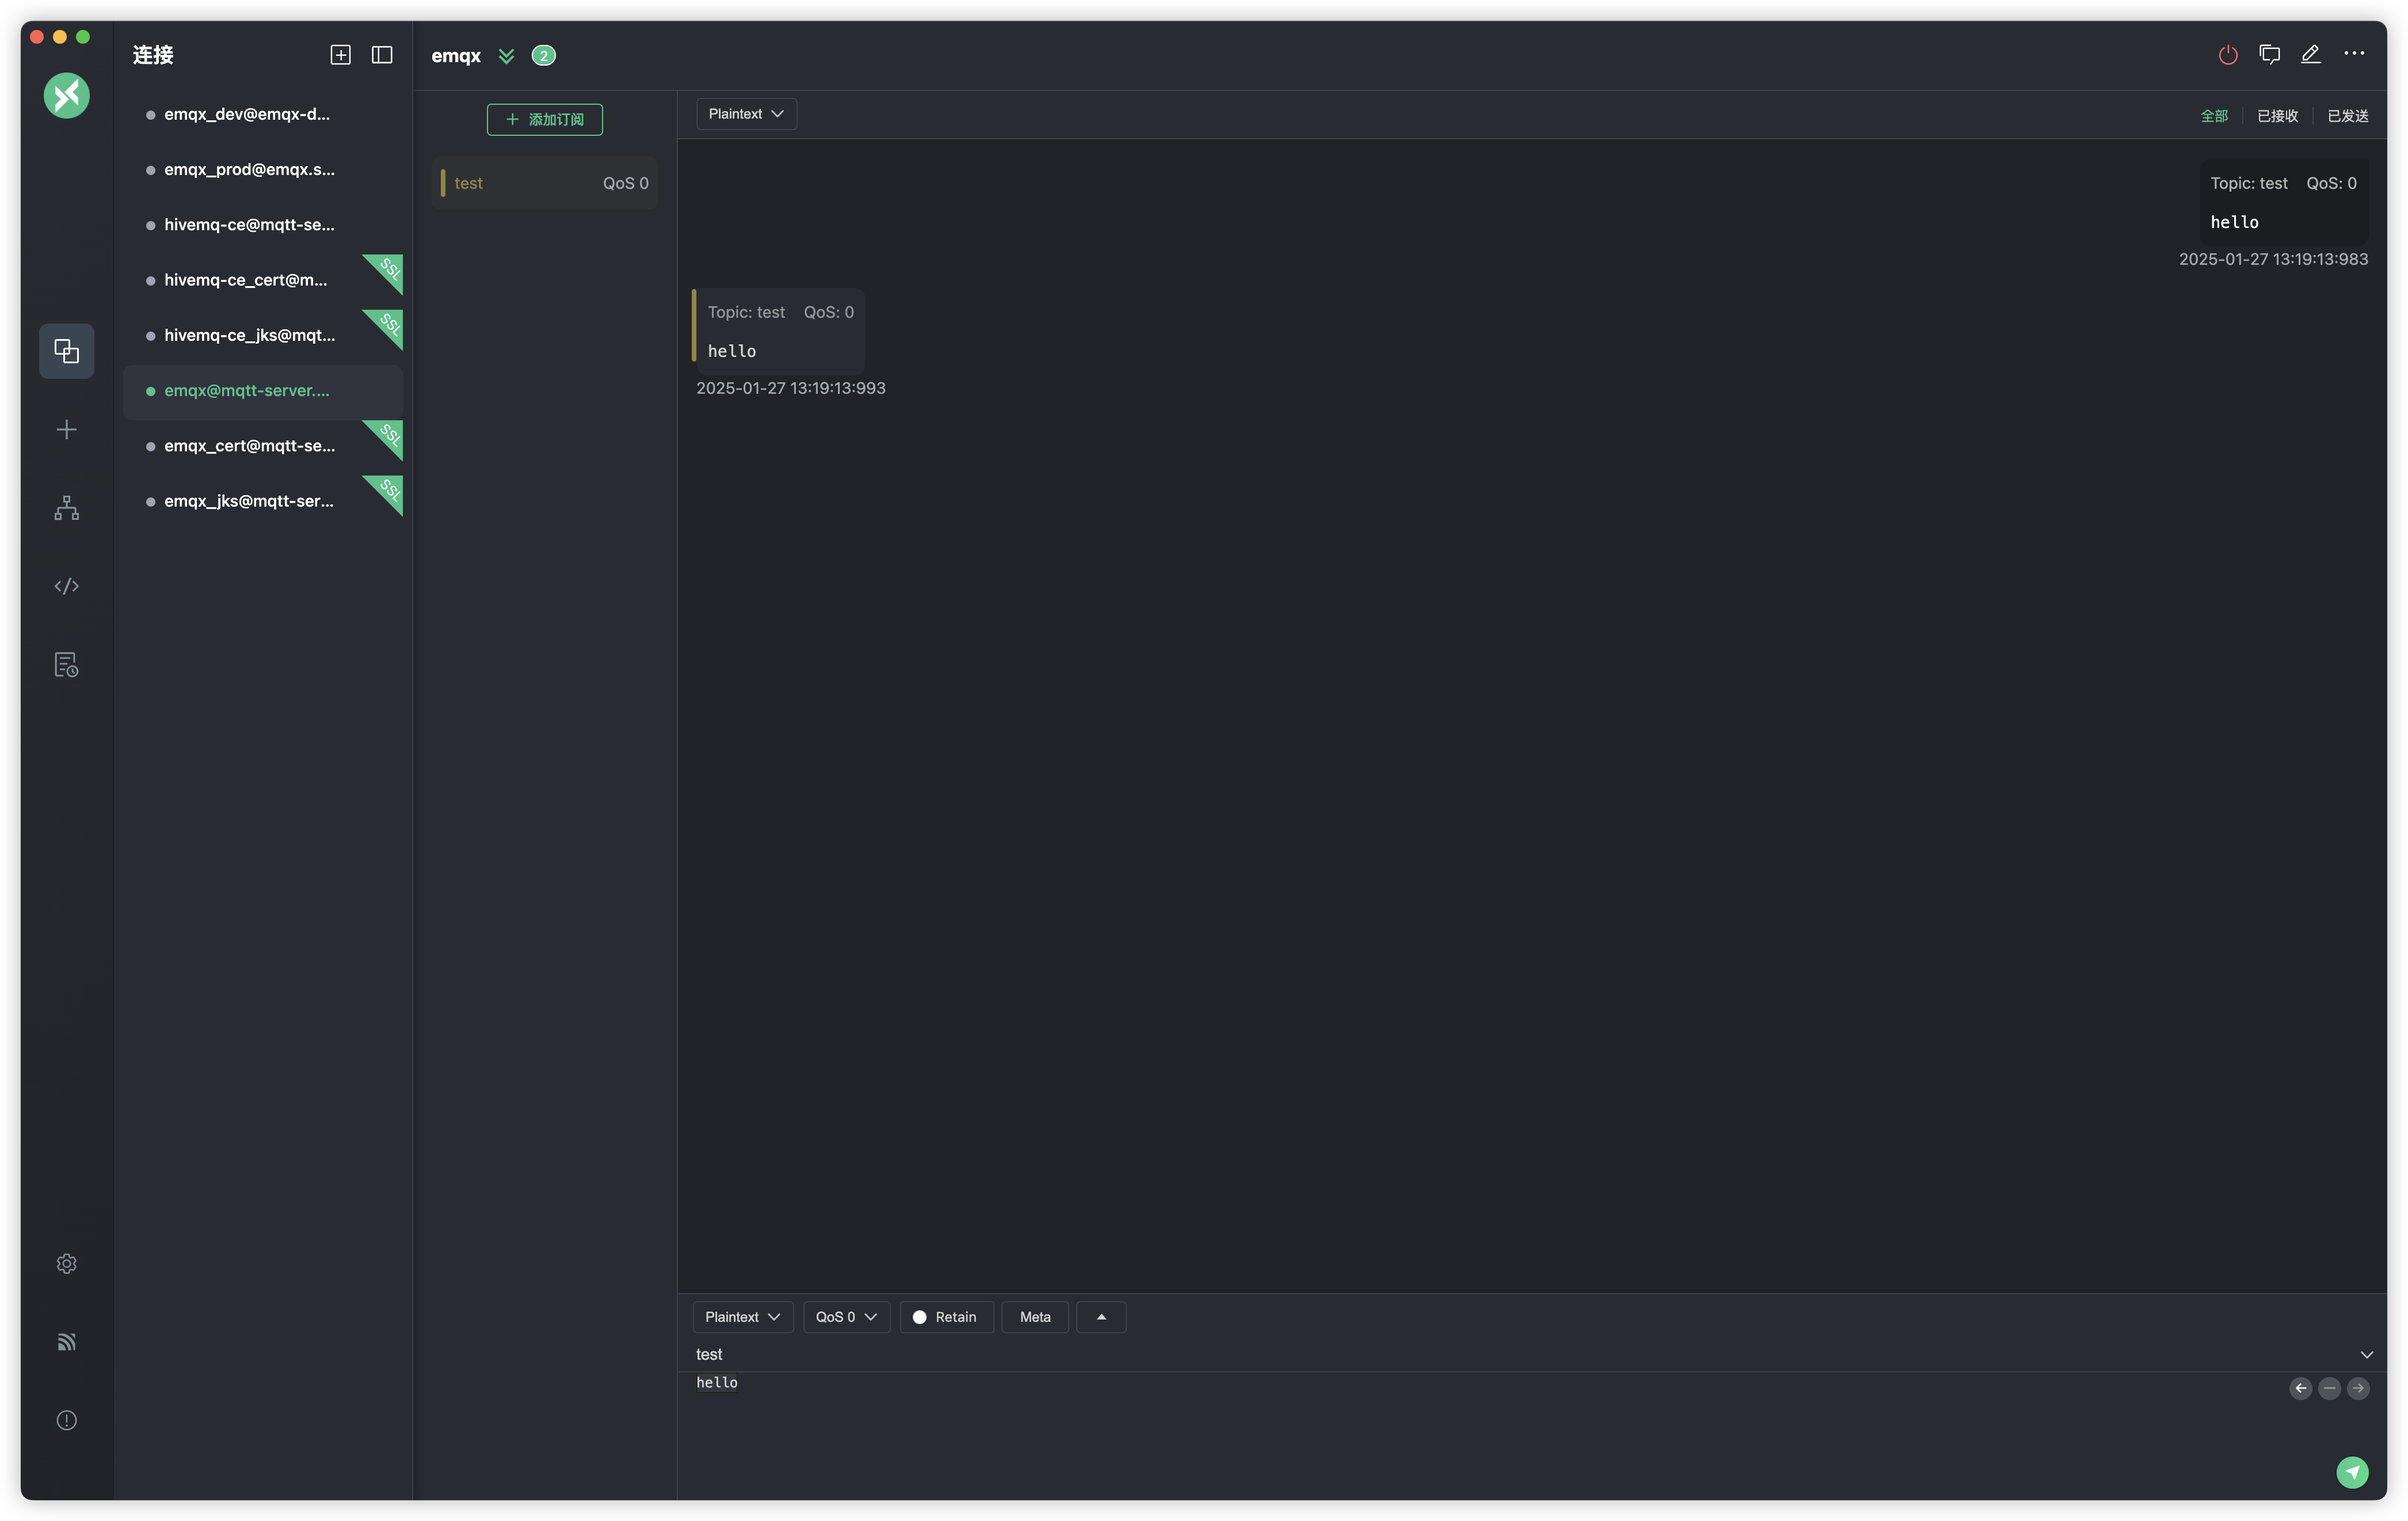
首先测试1883端口,配置如下
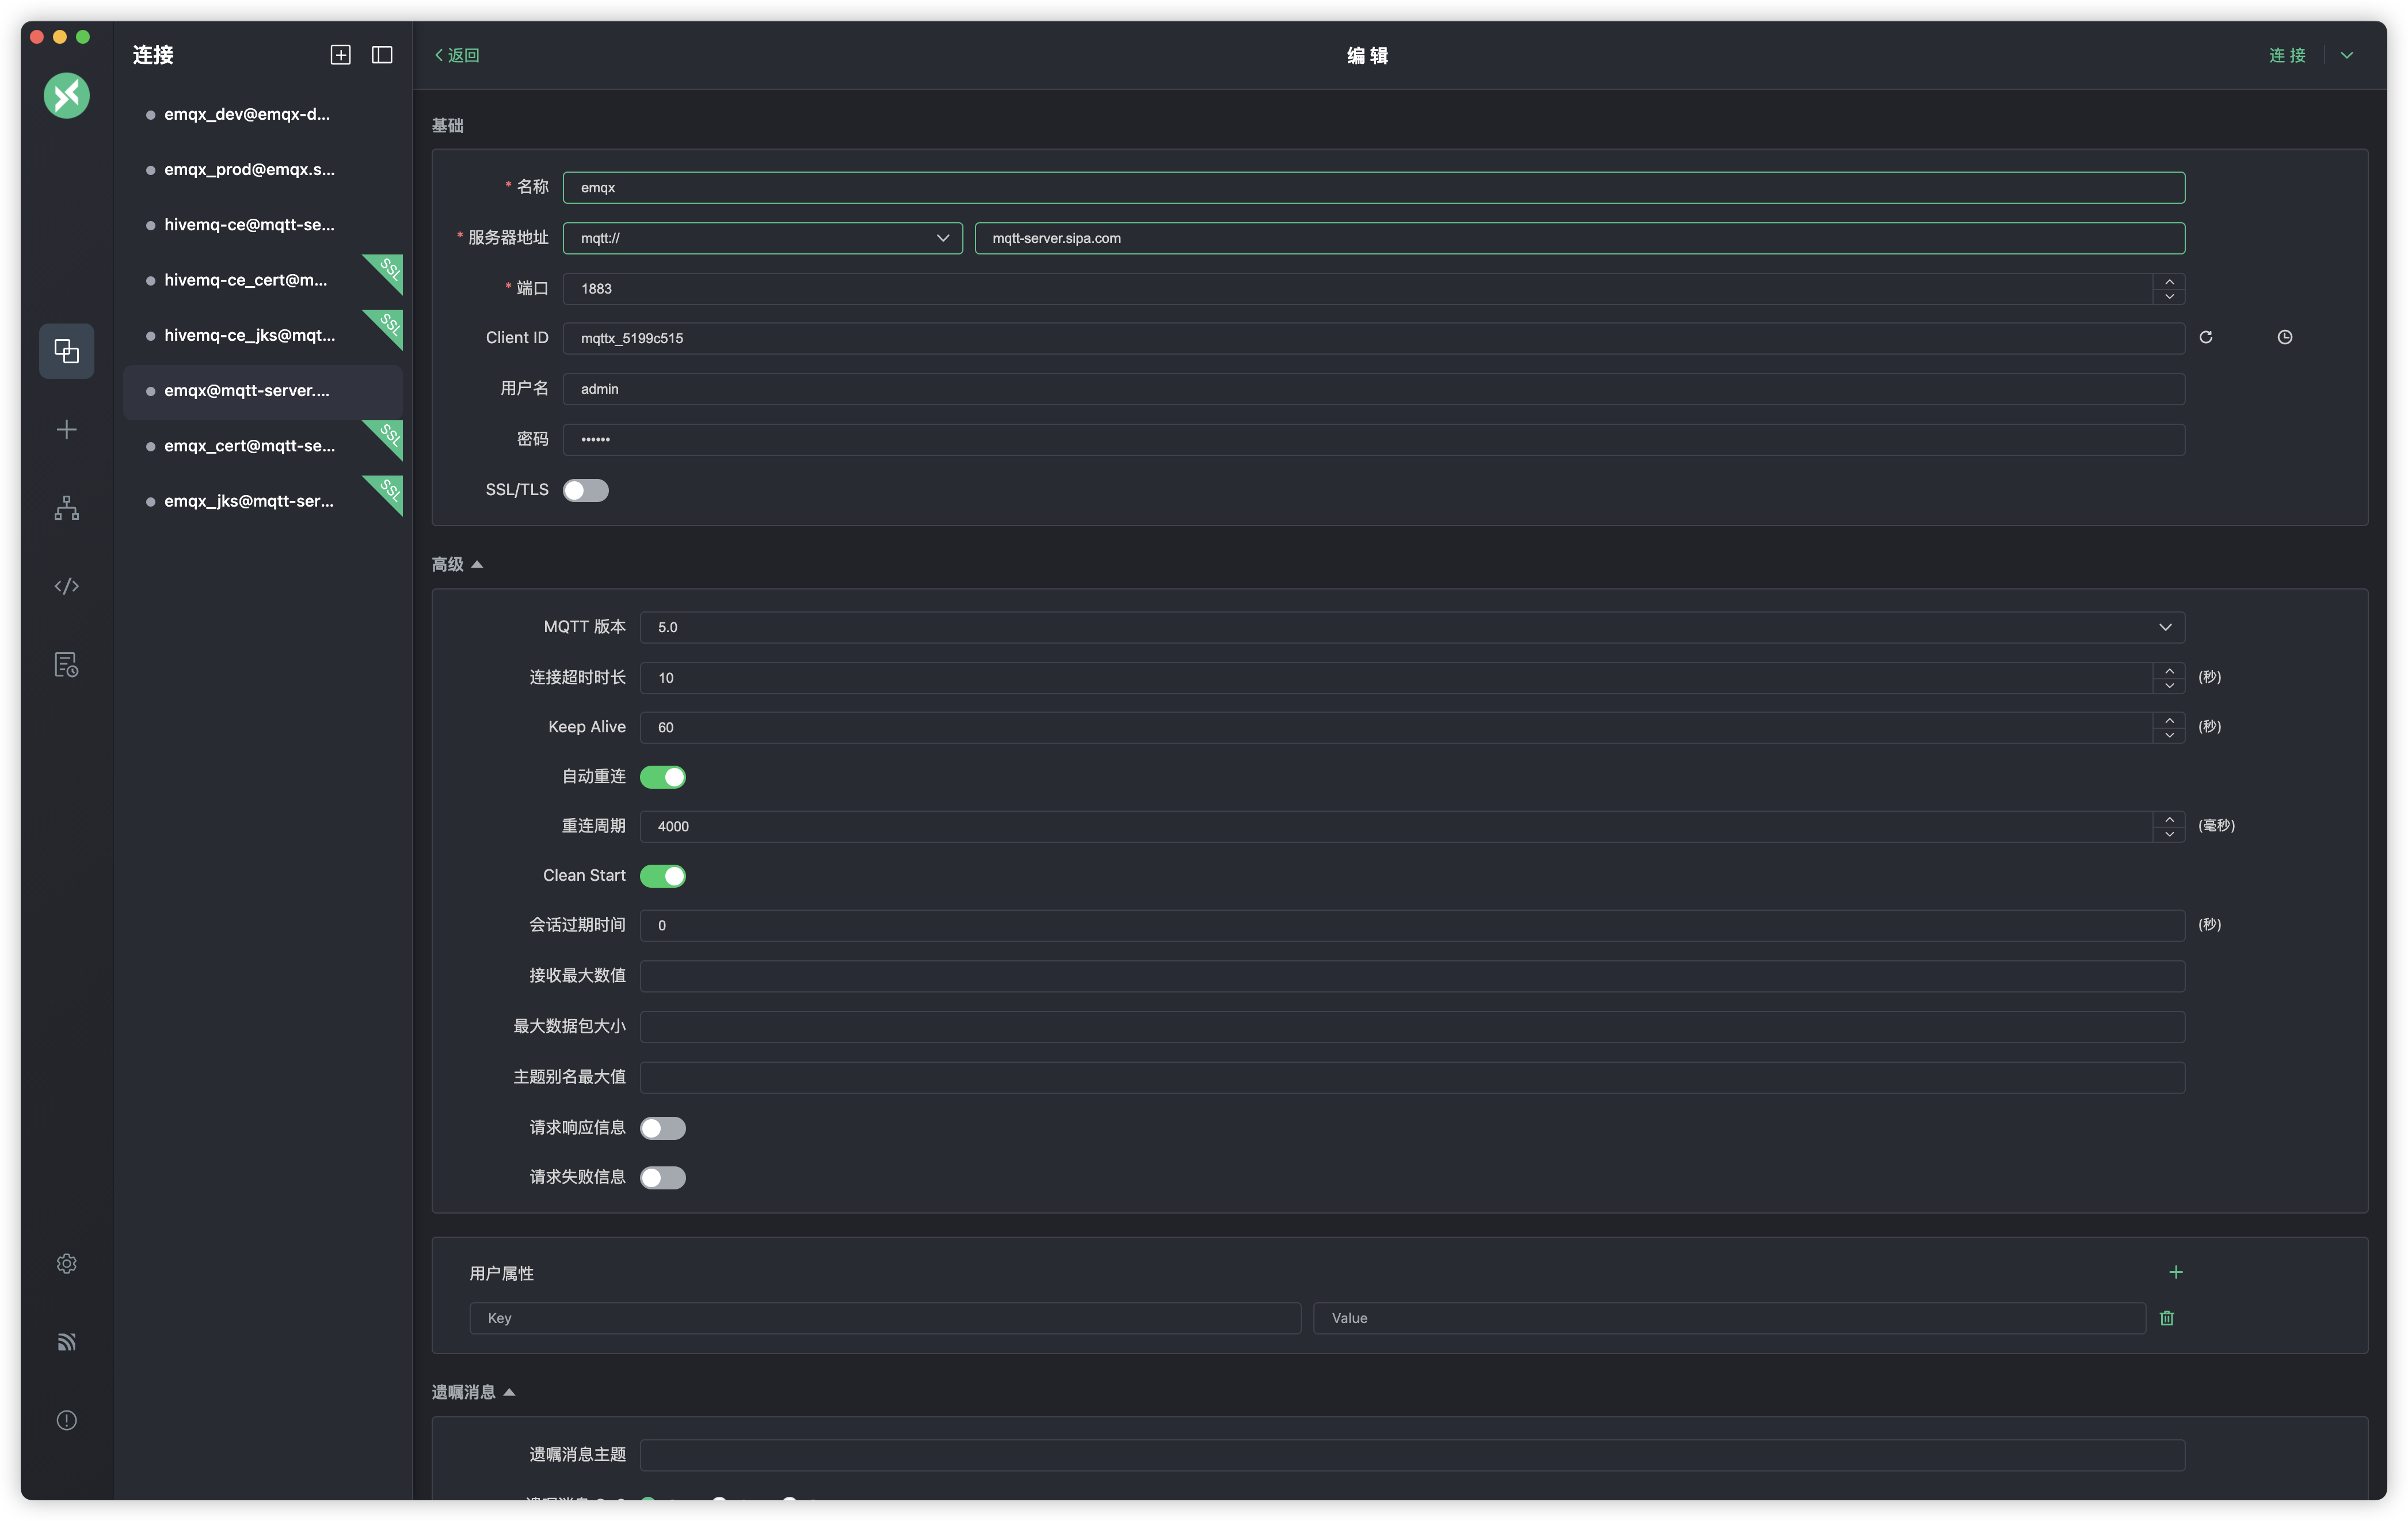
测试成功
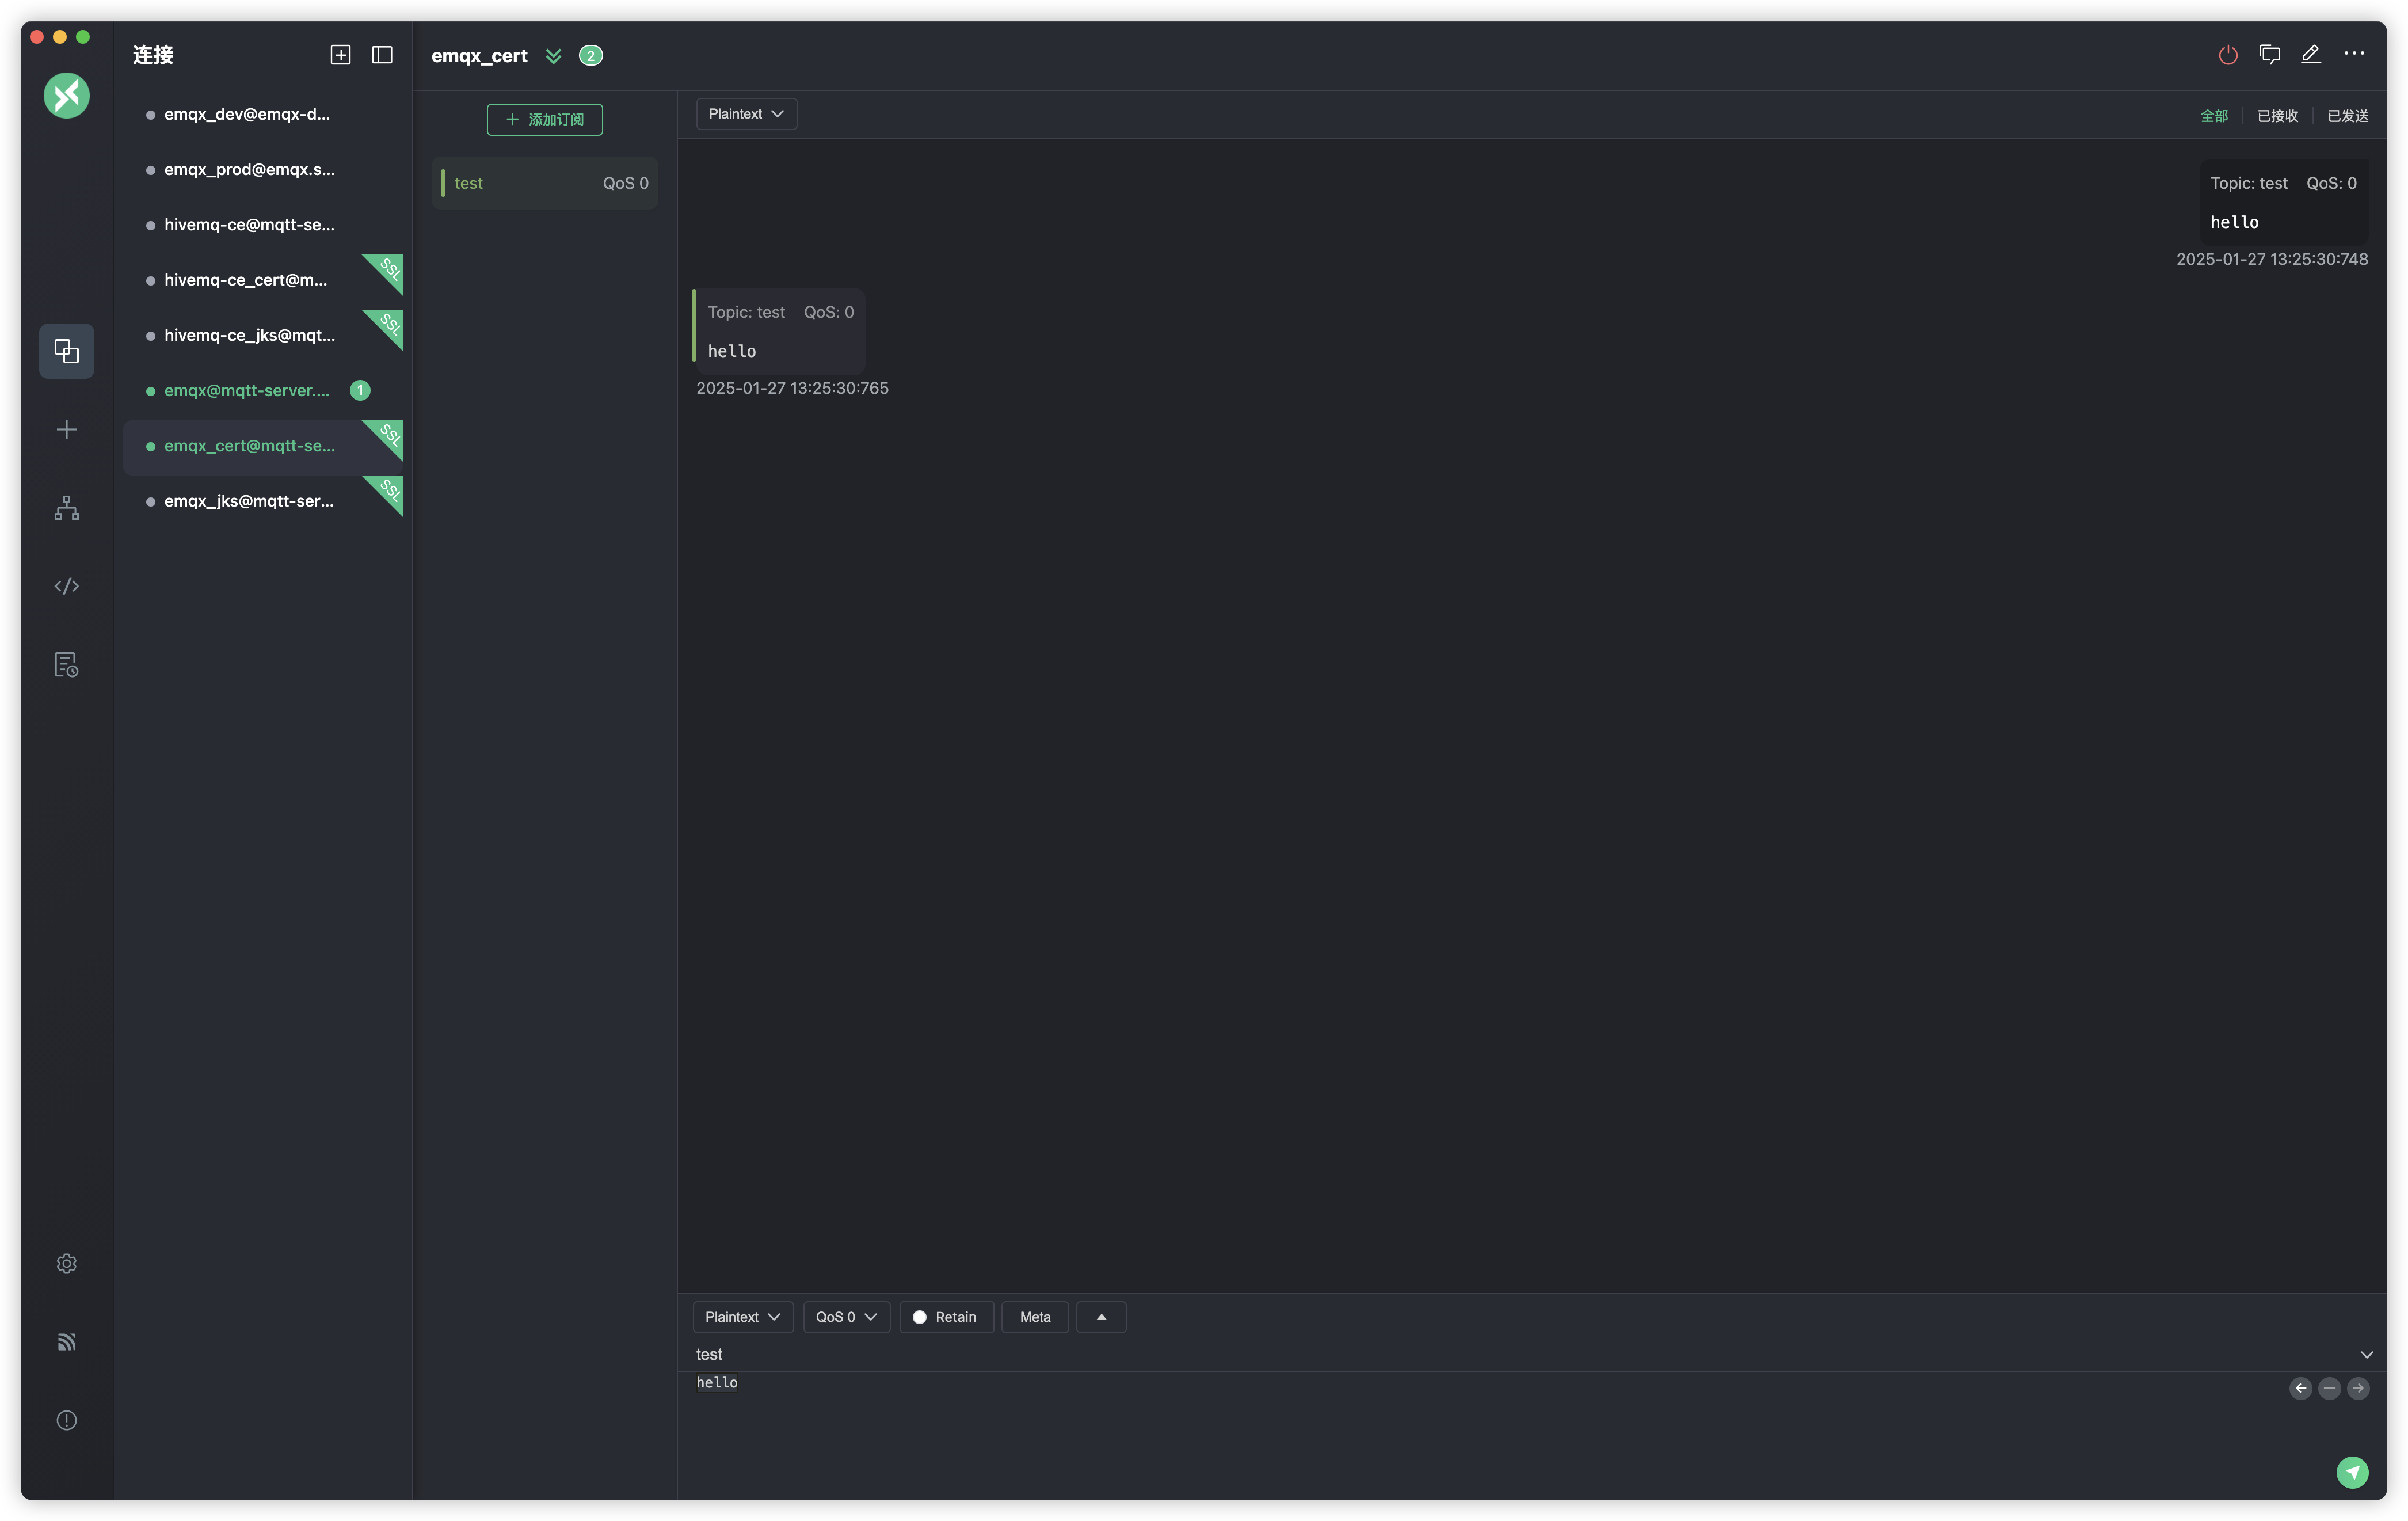
测试8883端口,配置如下
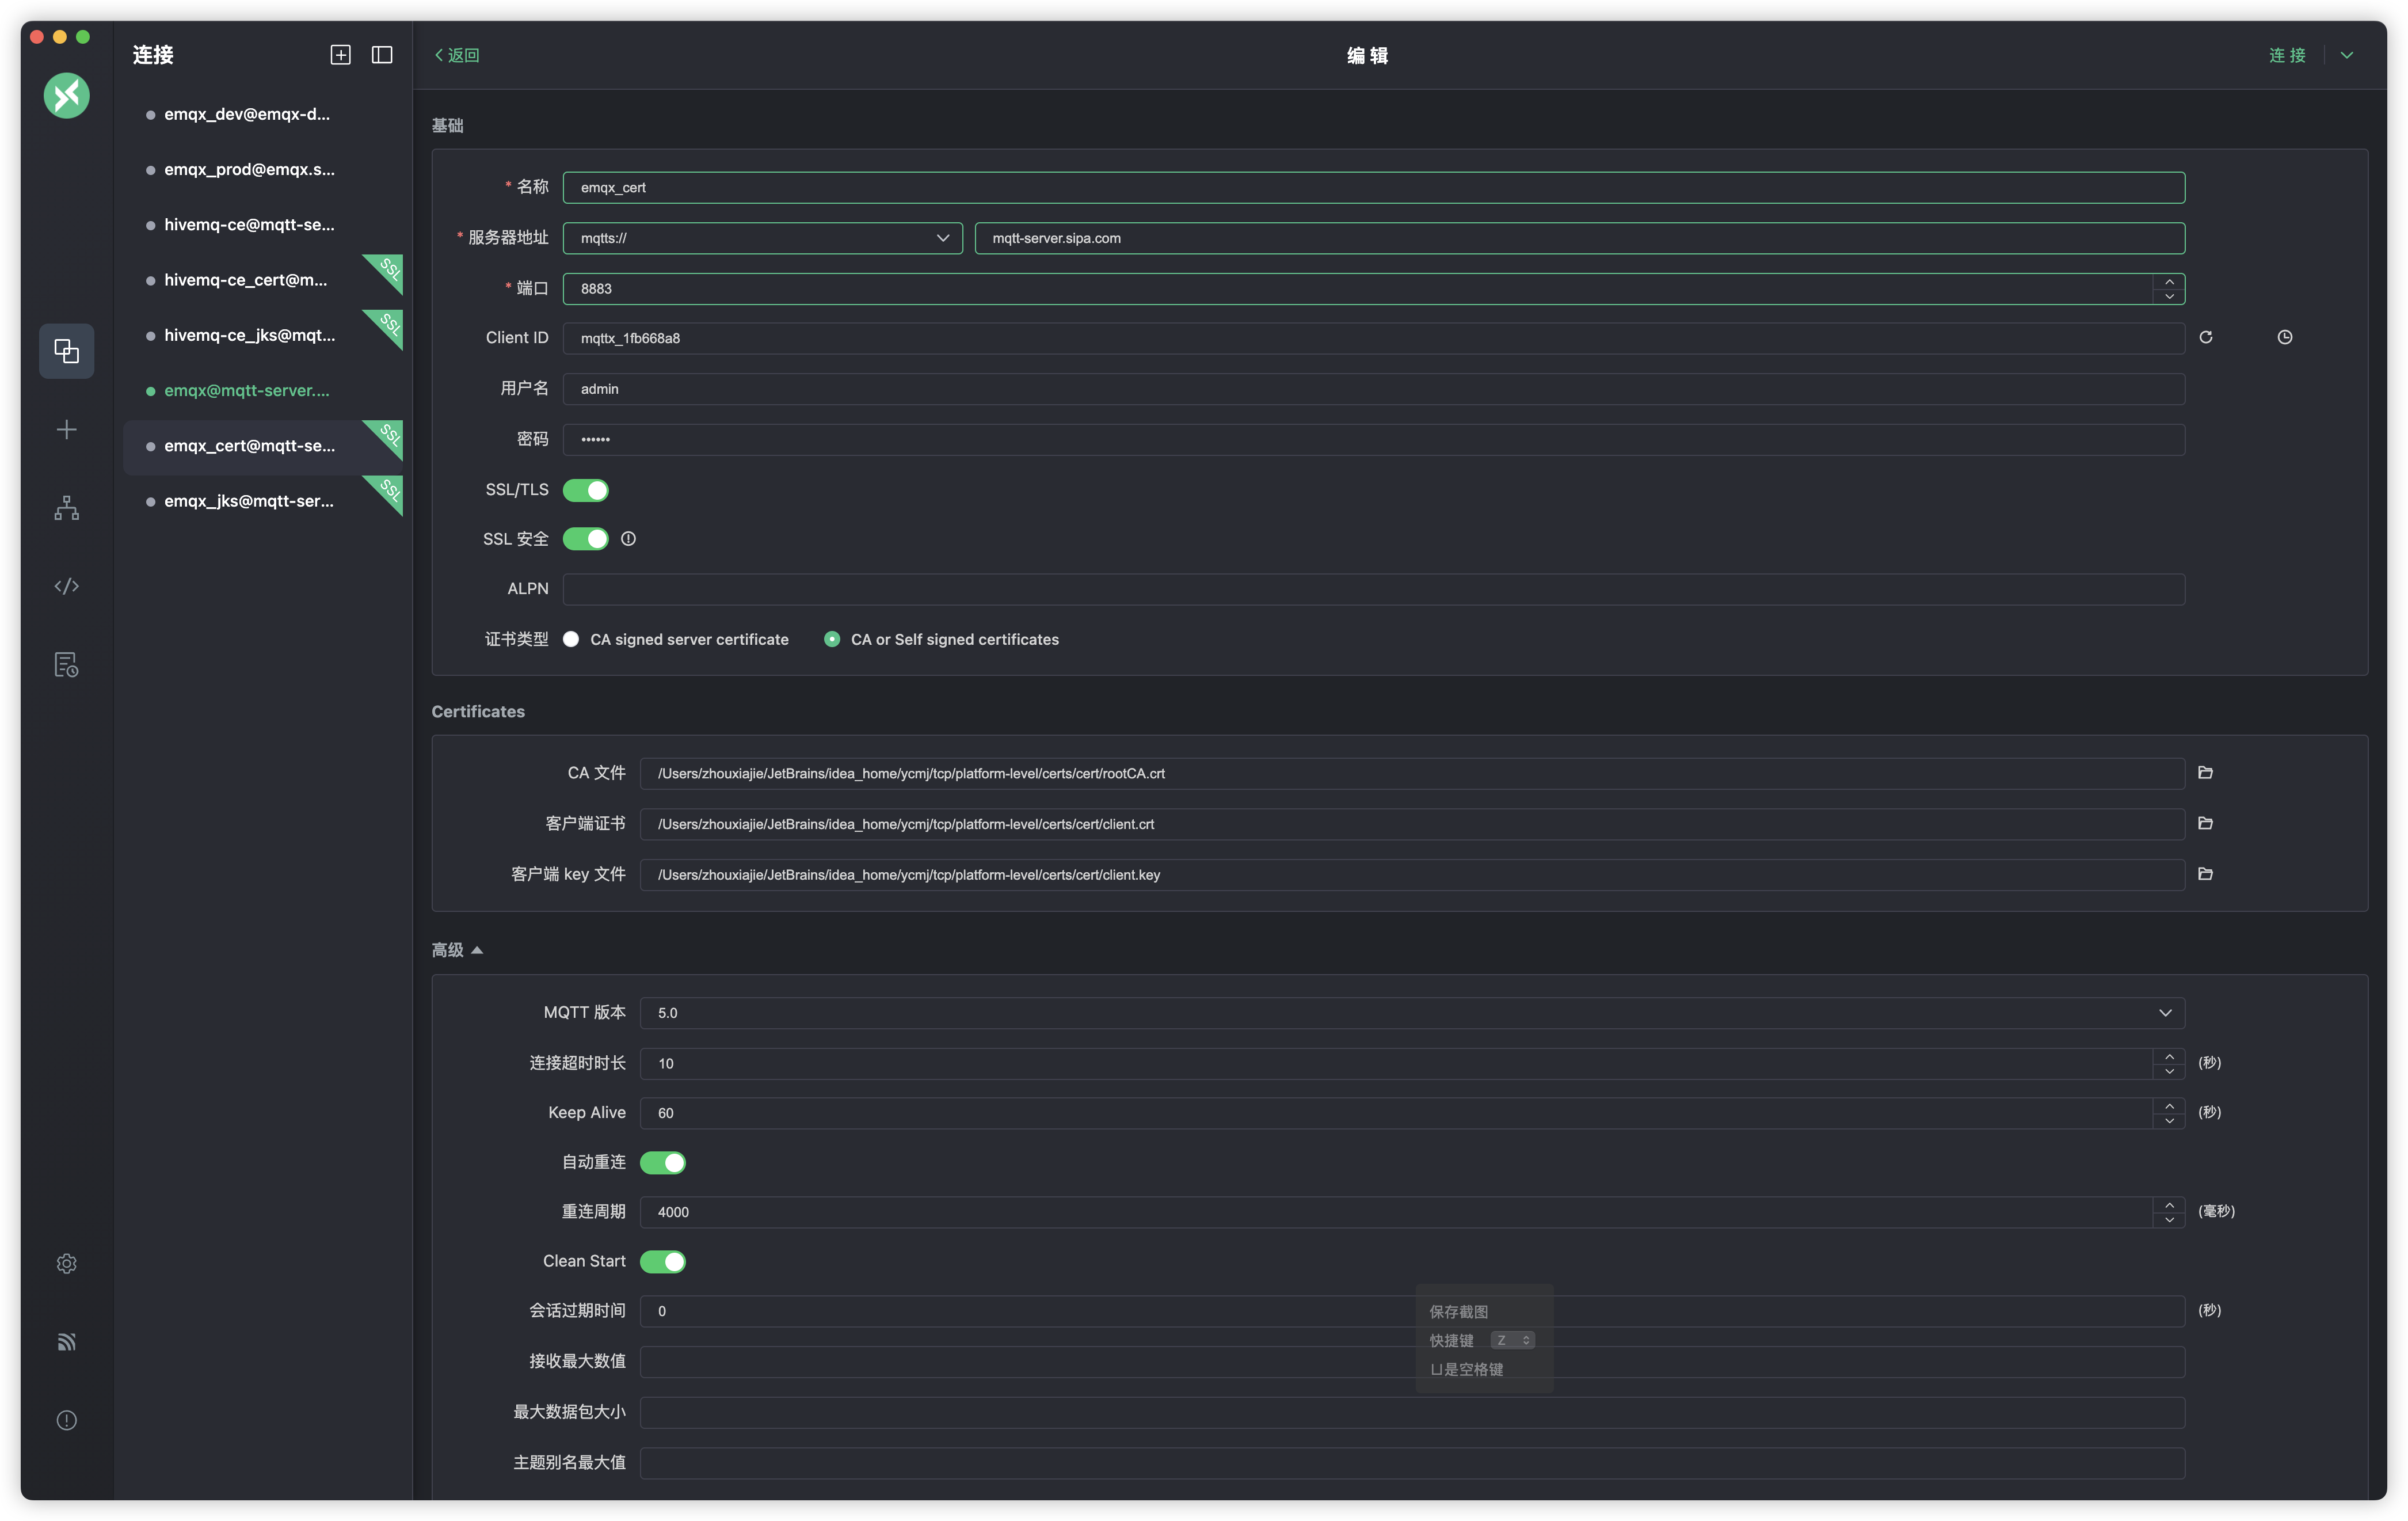
测试成功
java paho客户端测试
maven pom dependency配置如下
1 | <dependencies> |
代码如下
1 | package com.sipa.test.ut; |
运行后输出如下
1 | Unencrypted key - no password needed |
java mica客户端测试
mica客户端可以使用jks,pfk或p12的证书,这里我们以常用的jks为例,首先我们需要生成两个jks文件
1 | # 将客户端证书导出为p12类型 |
接下来我们用java代码做测试,maven pom dependency配置如下
1 | <dependencies> |
代码如下
1 | package com.sipa.test; |
spring配置如下
1 | spring.application.name: demo |
运行后输出如下
1 | 2025-01-27 13:49:26.360 INFO 17863 --- [ tio-group-2] o.t.client.ConnectionCompletionHandler : connected to mqtt-server.sipa.com:8883 |
部署HIVEMQ-CE
hivemq-ce部署需要jks类型的证书才能部署,trust store可以继续使用为mica客户端生产的cert-ts.jks,我们只要生成服务端的密钥库
1 | # 将服务端证书转化为p12格式 |
hivemq换个方式部署,使用compose,配置如下
1 | services: |
hivemq-ce 配置如下
1 |
|
MQTTX测试
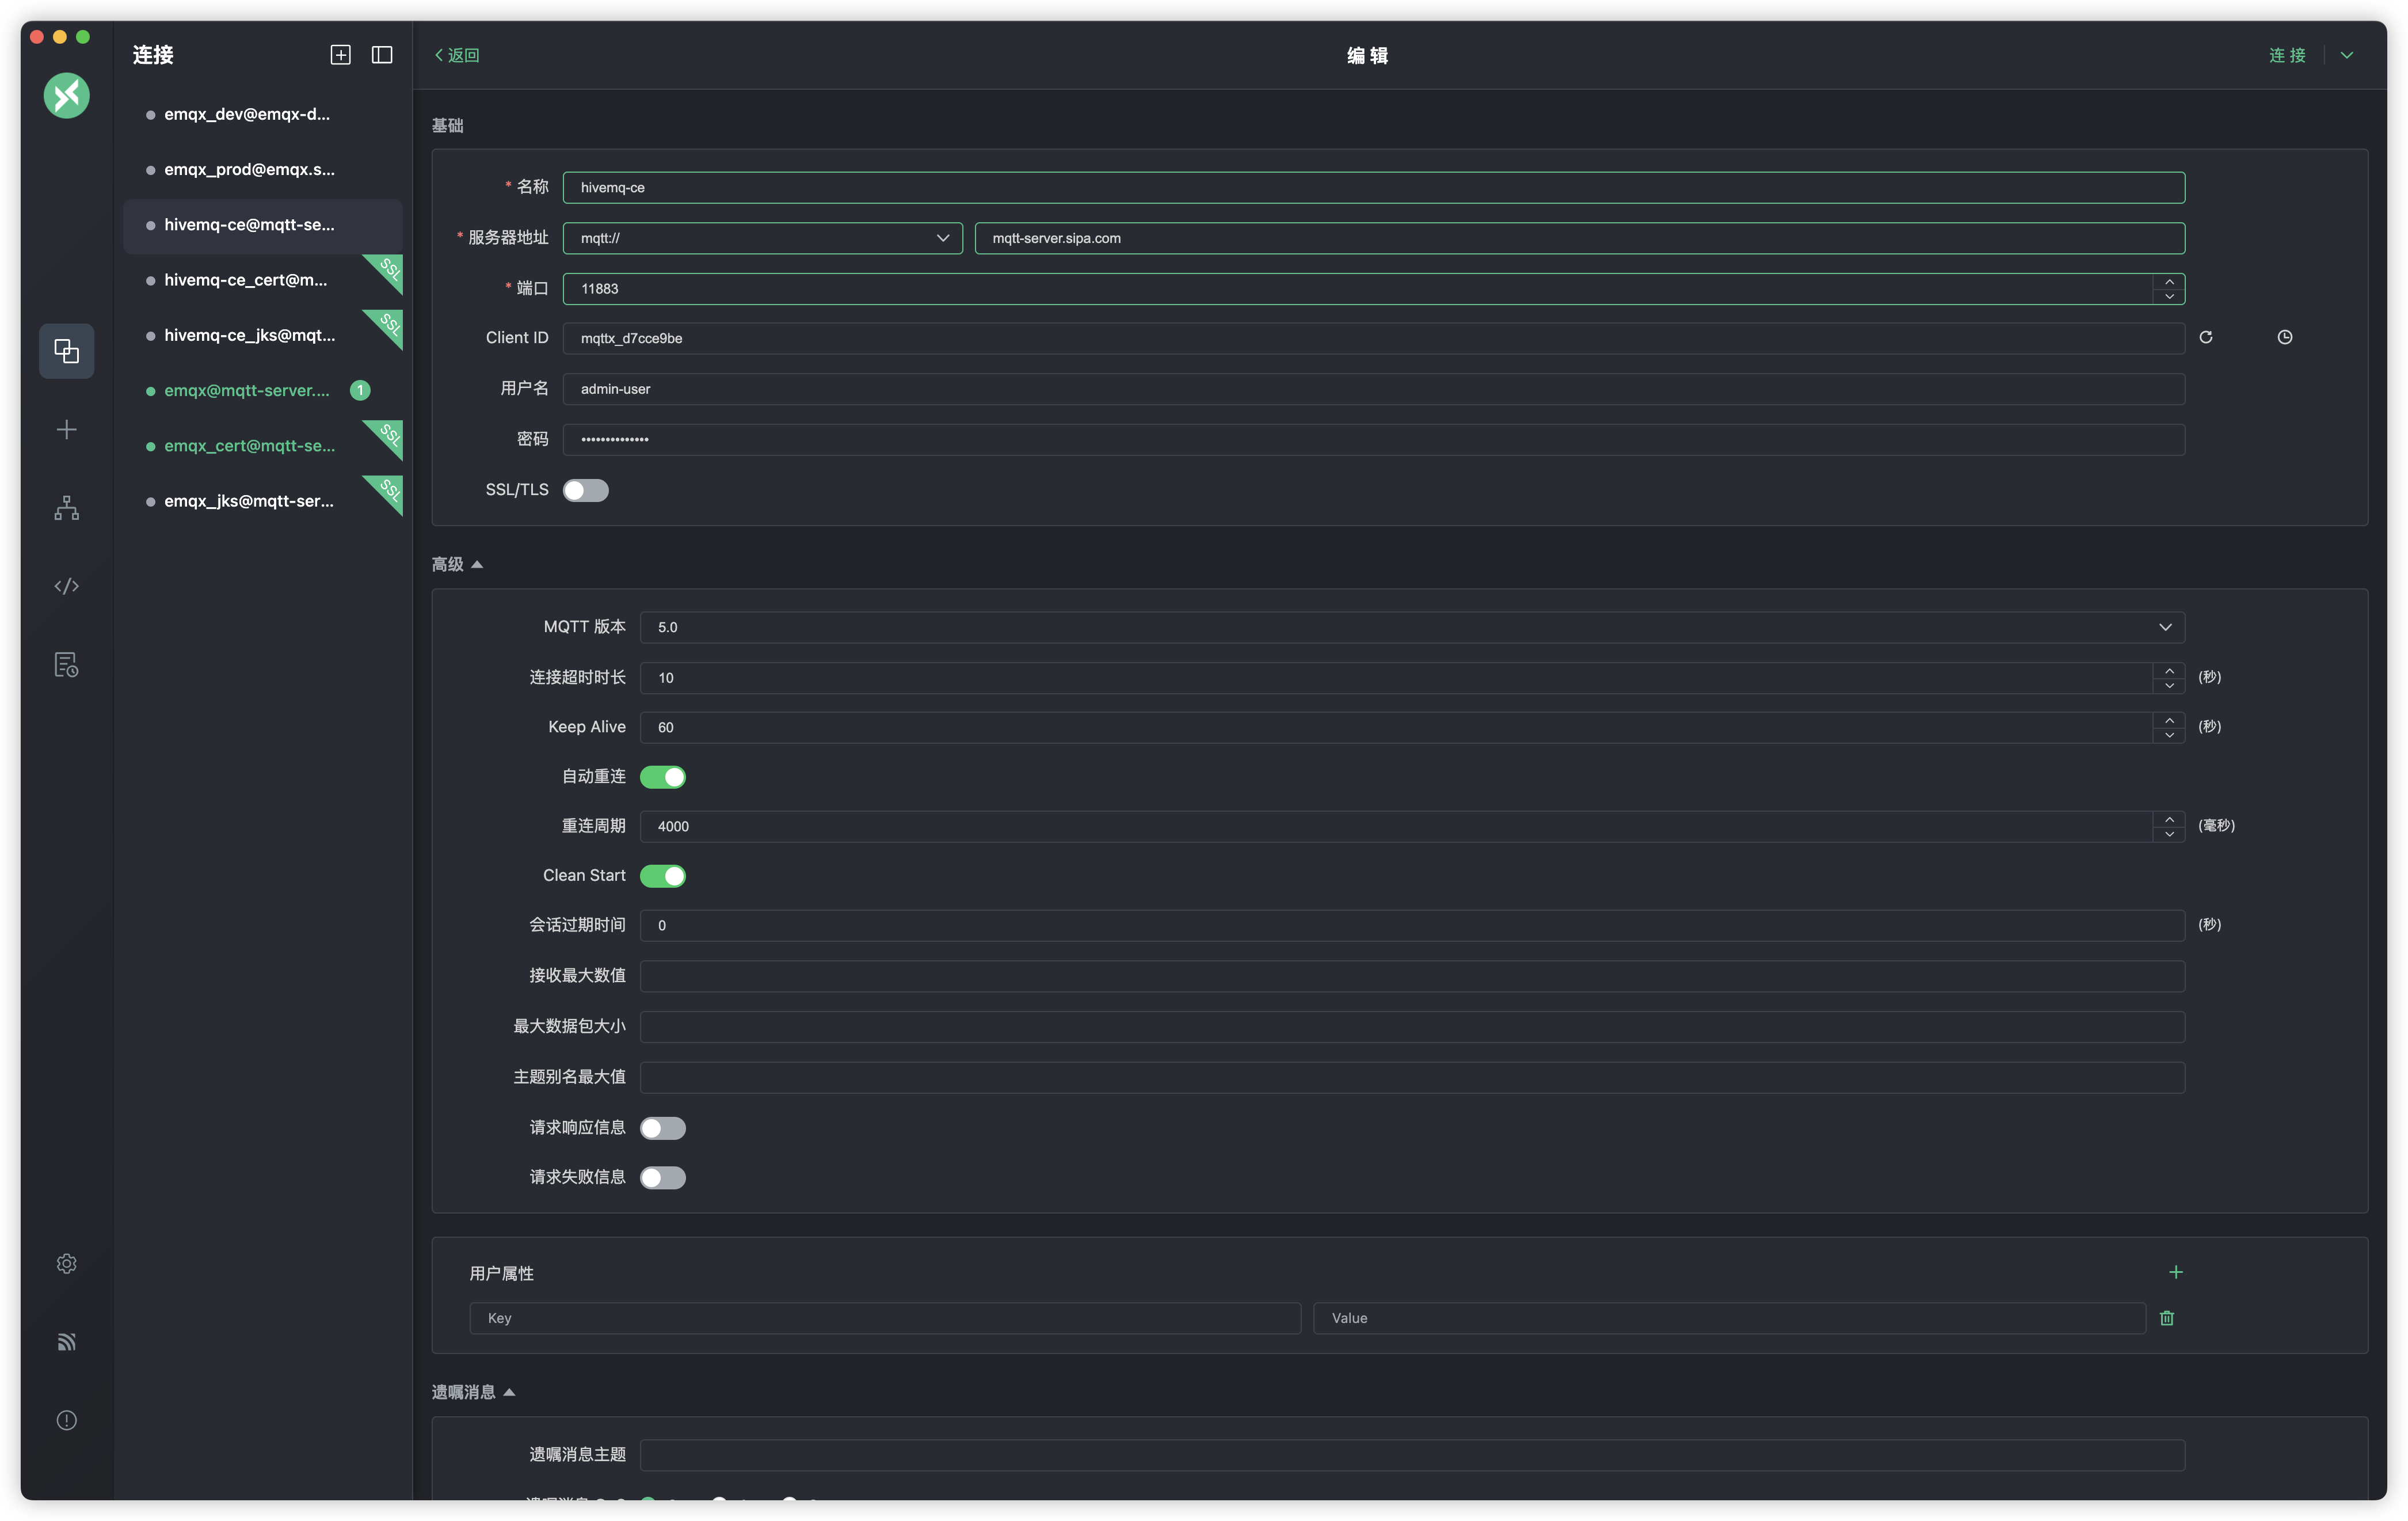
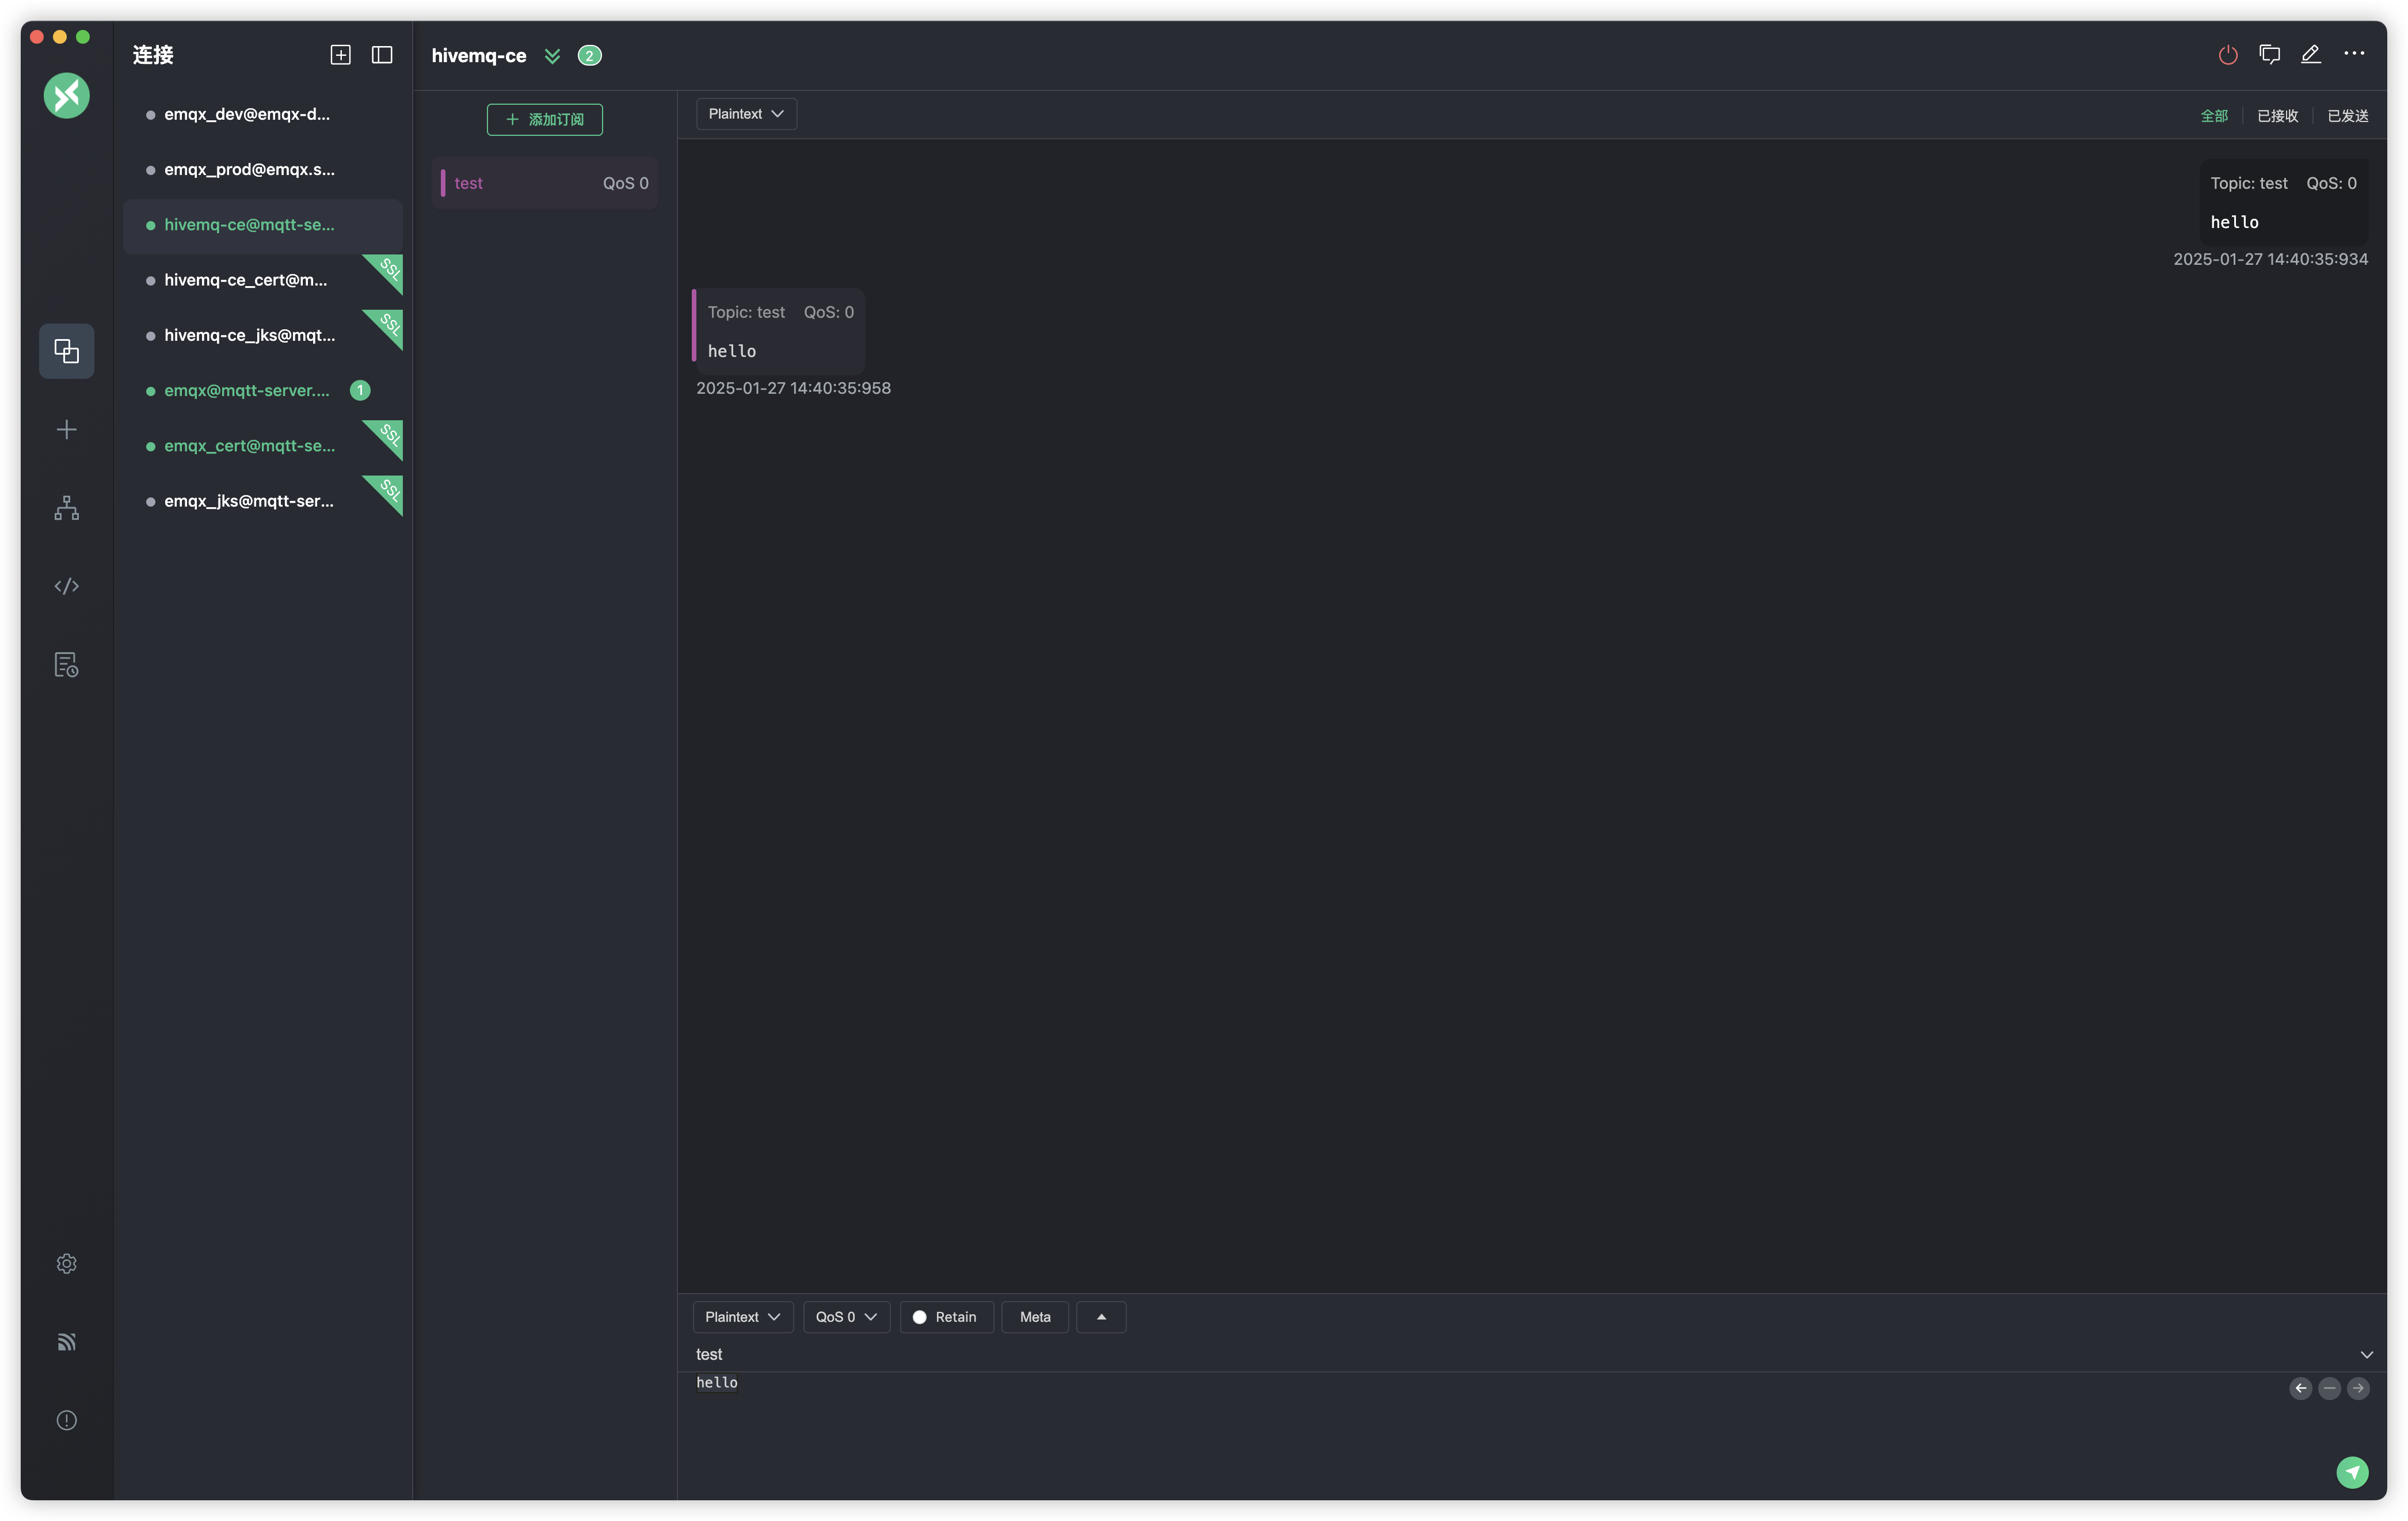
首先测试11883端口,配置如下
测试成功
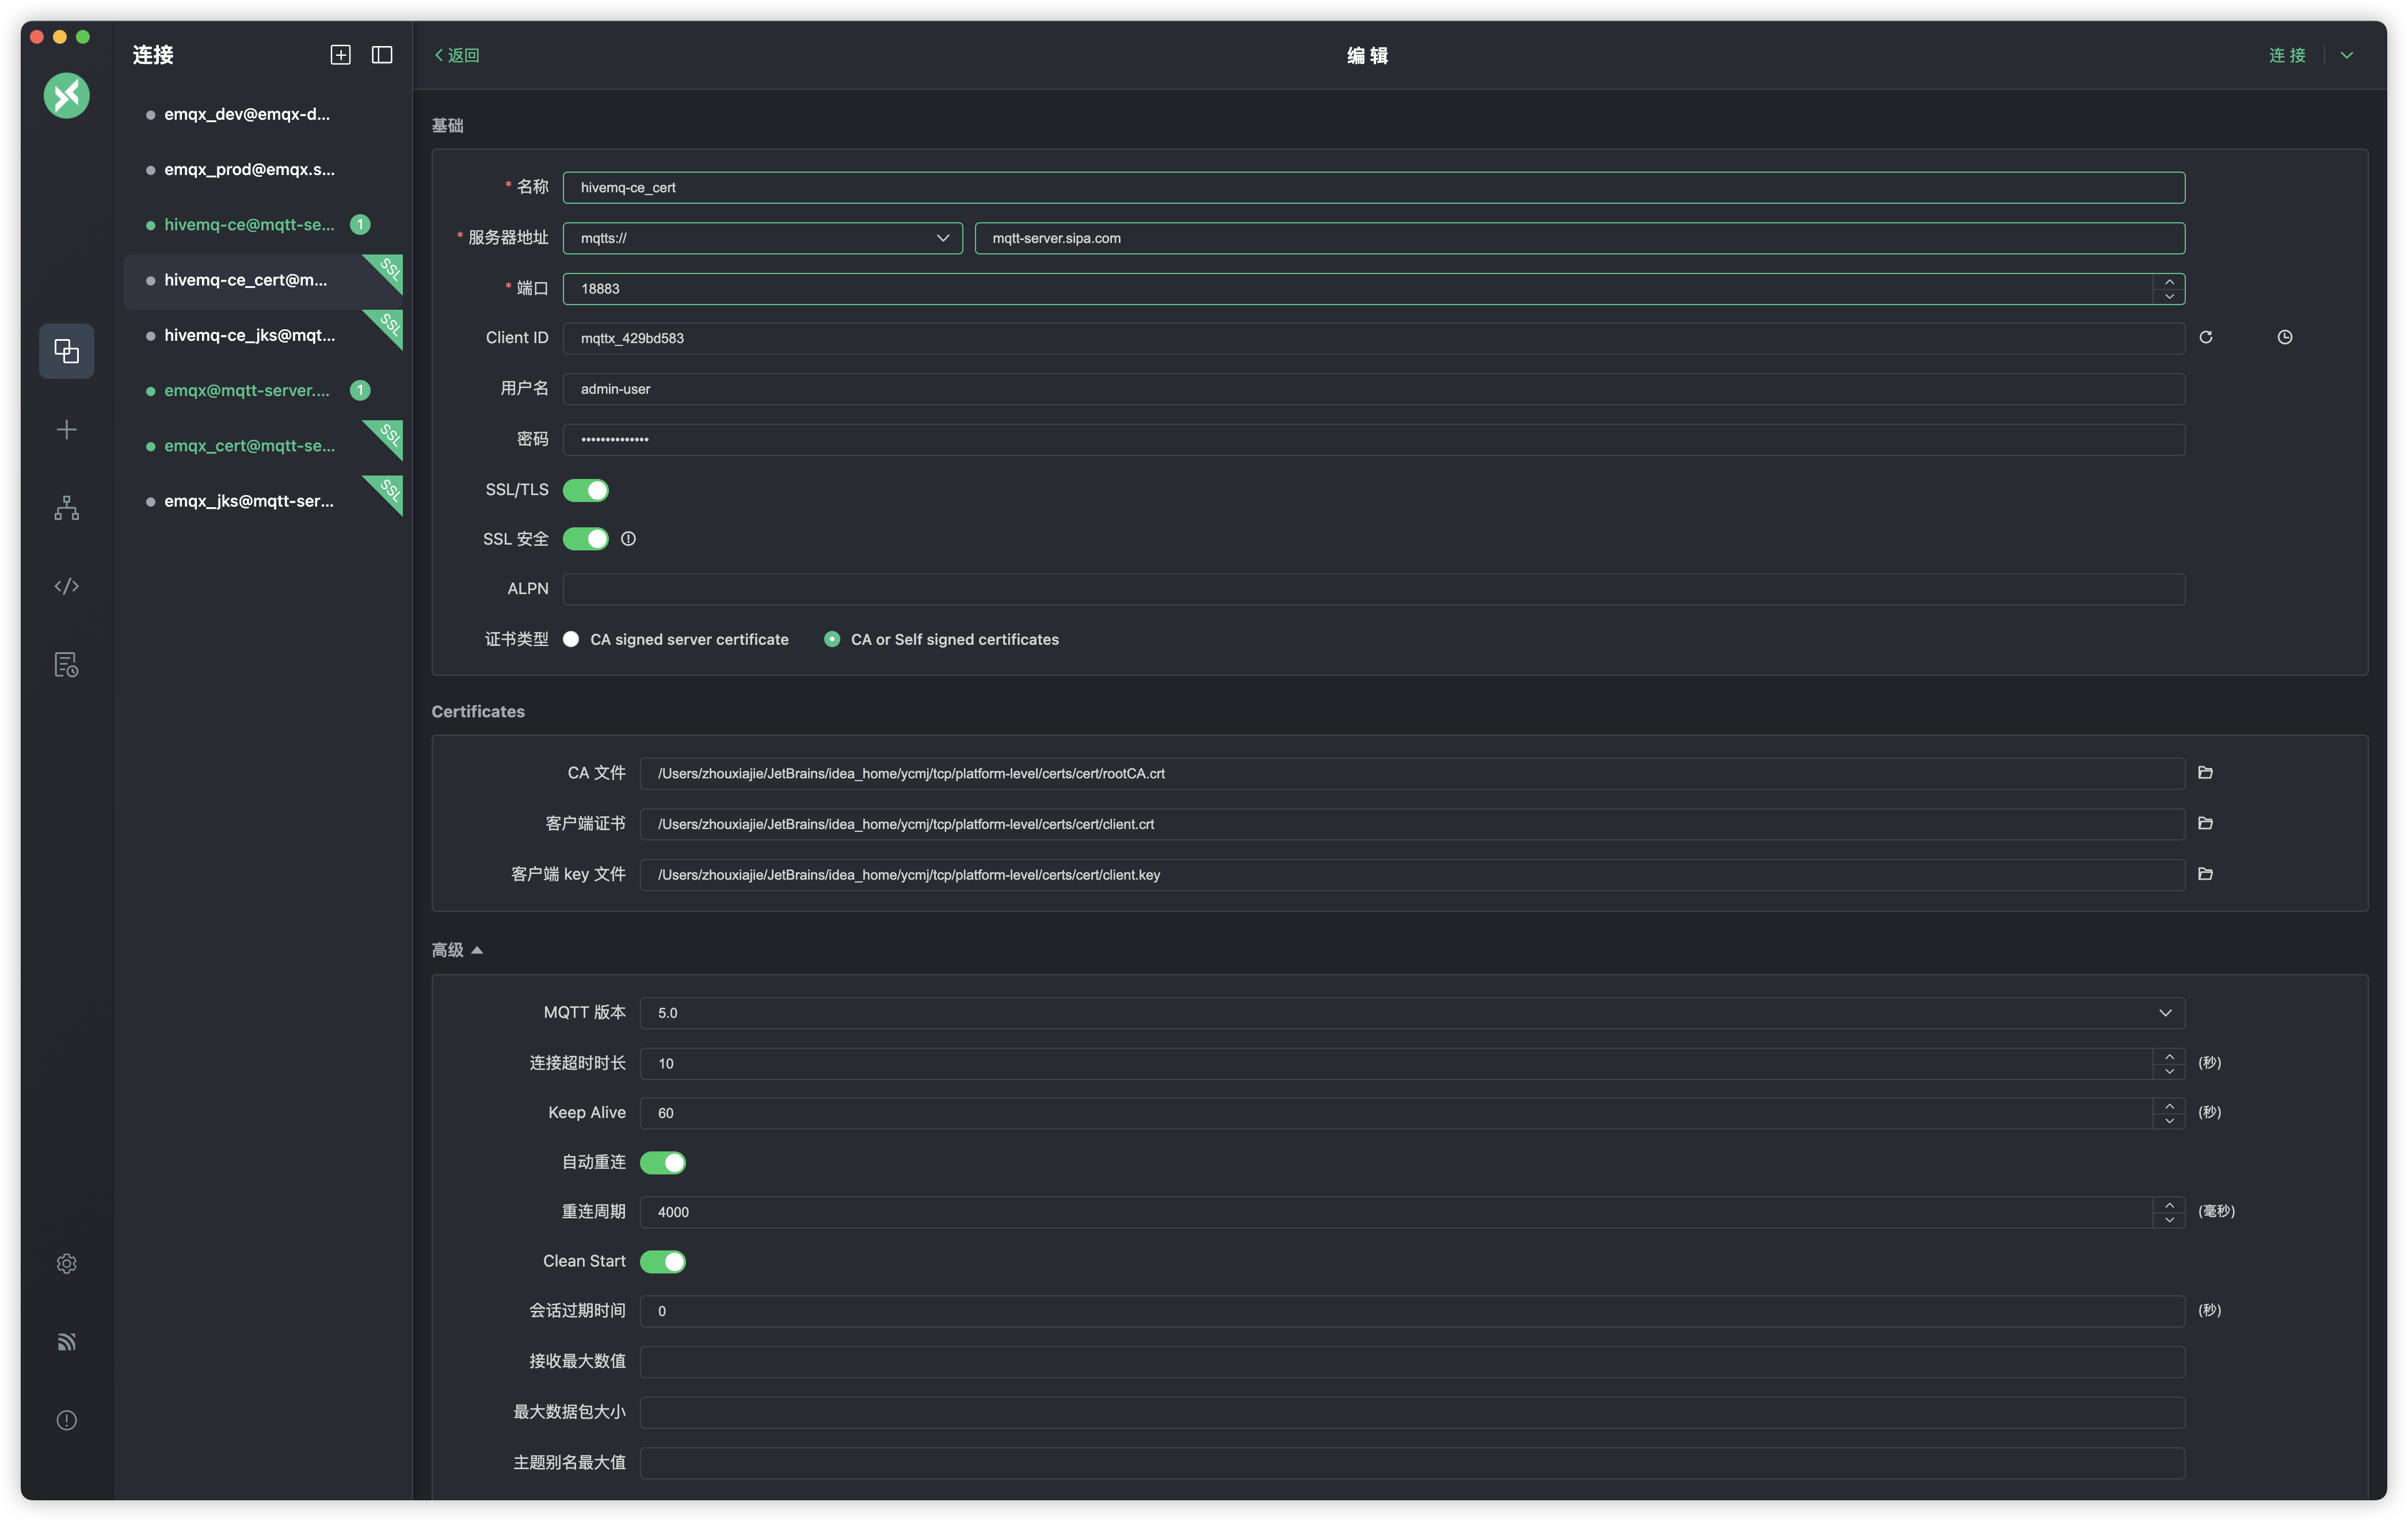
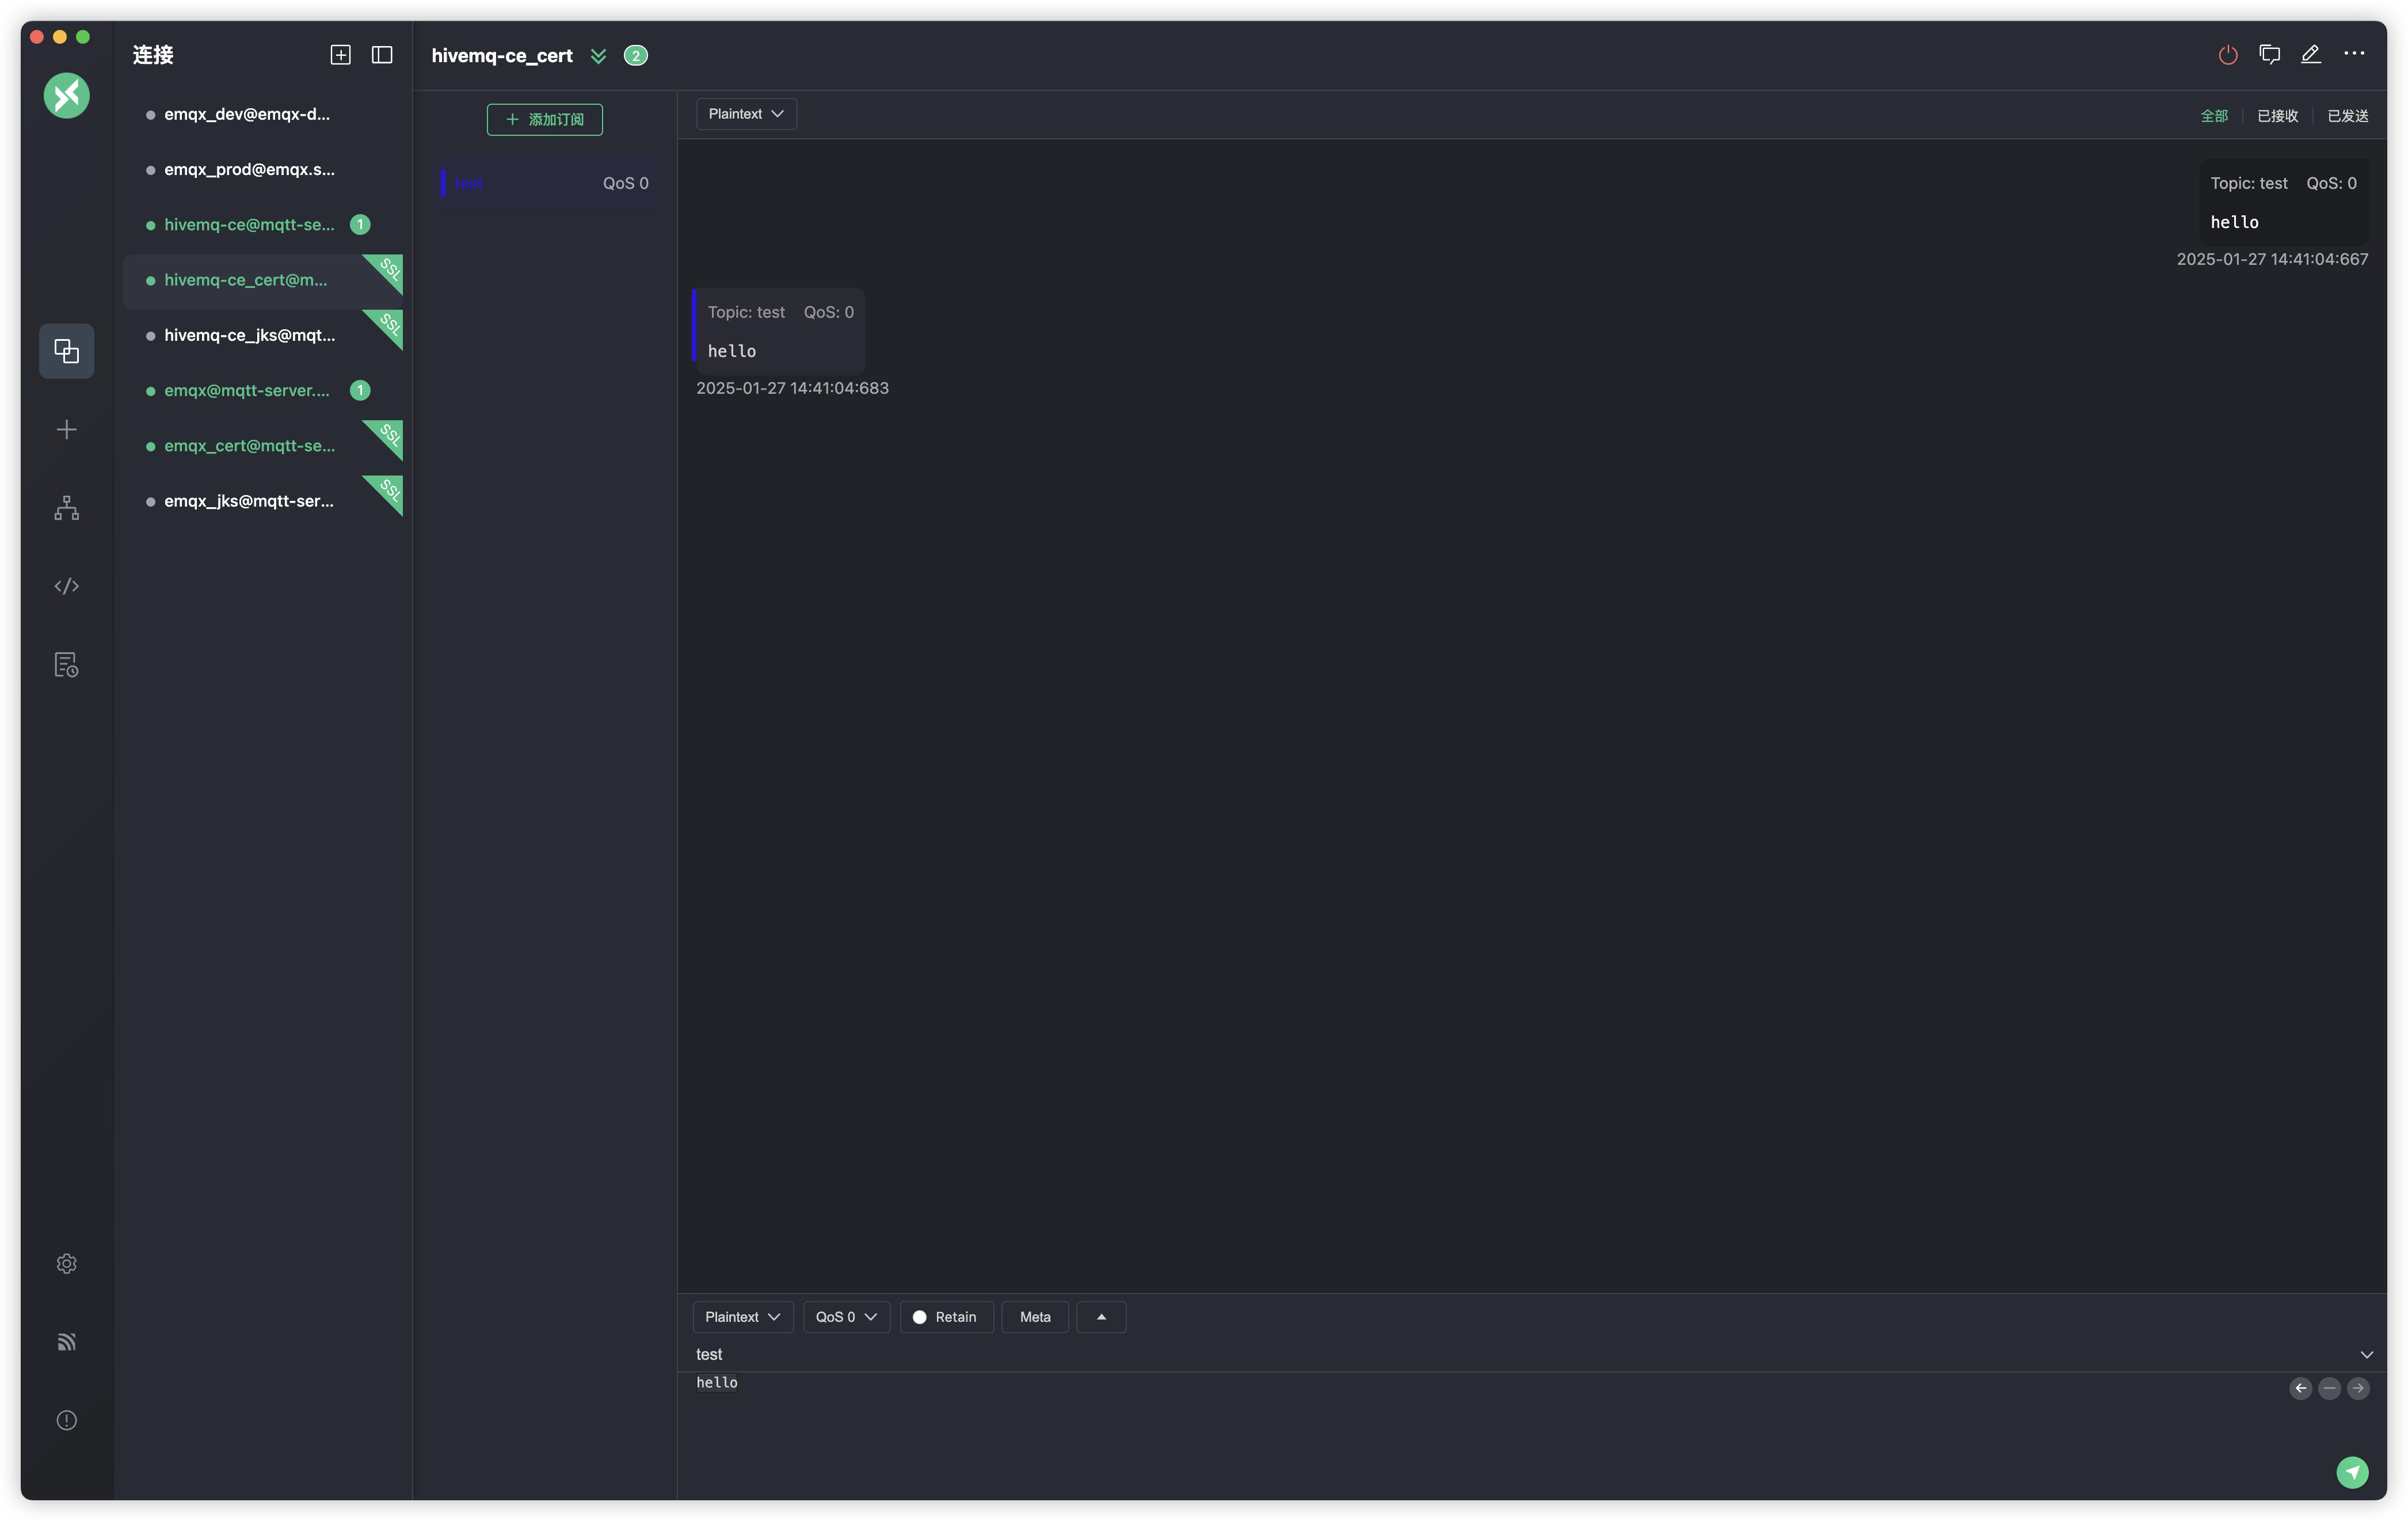
测试18883端口,配置如下
测试成功
java paho客户端测试
复制对应emqx的代码,修改如下
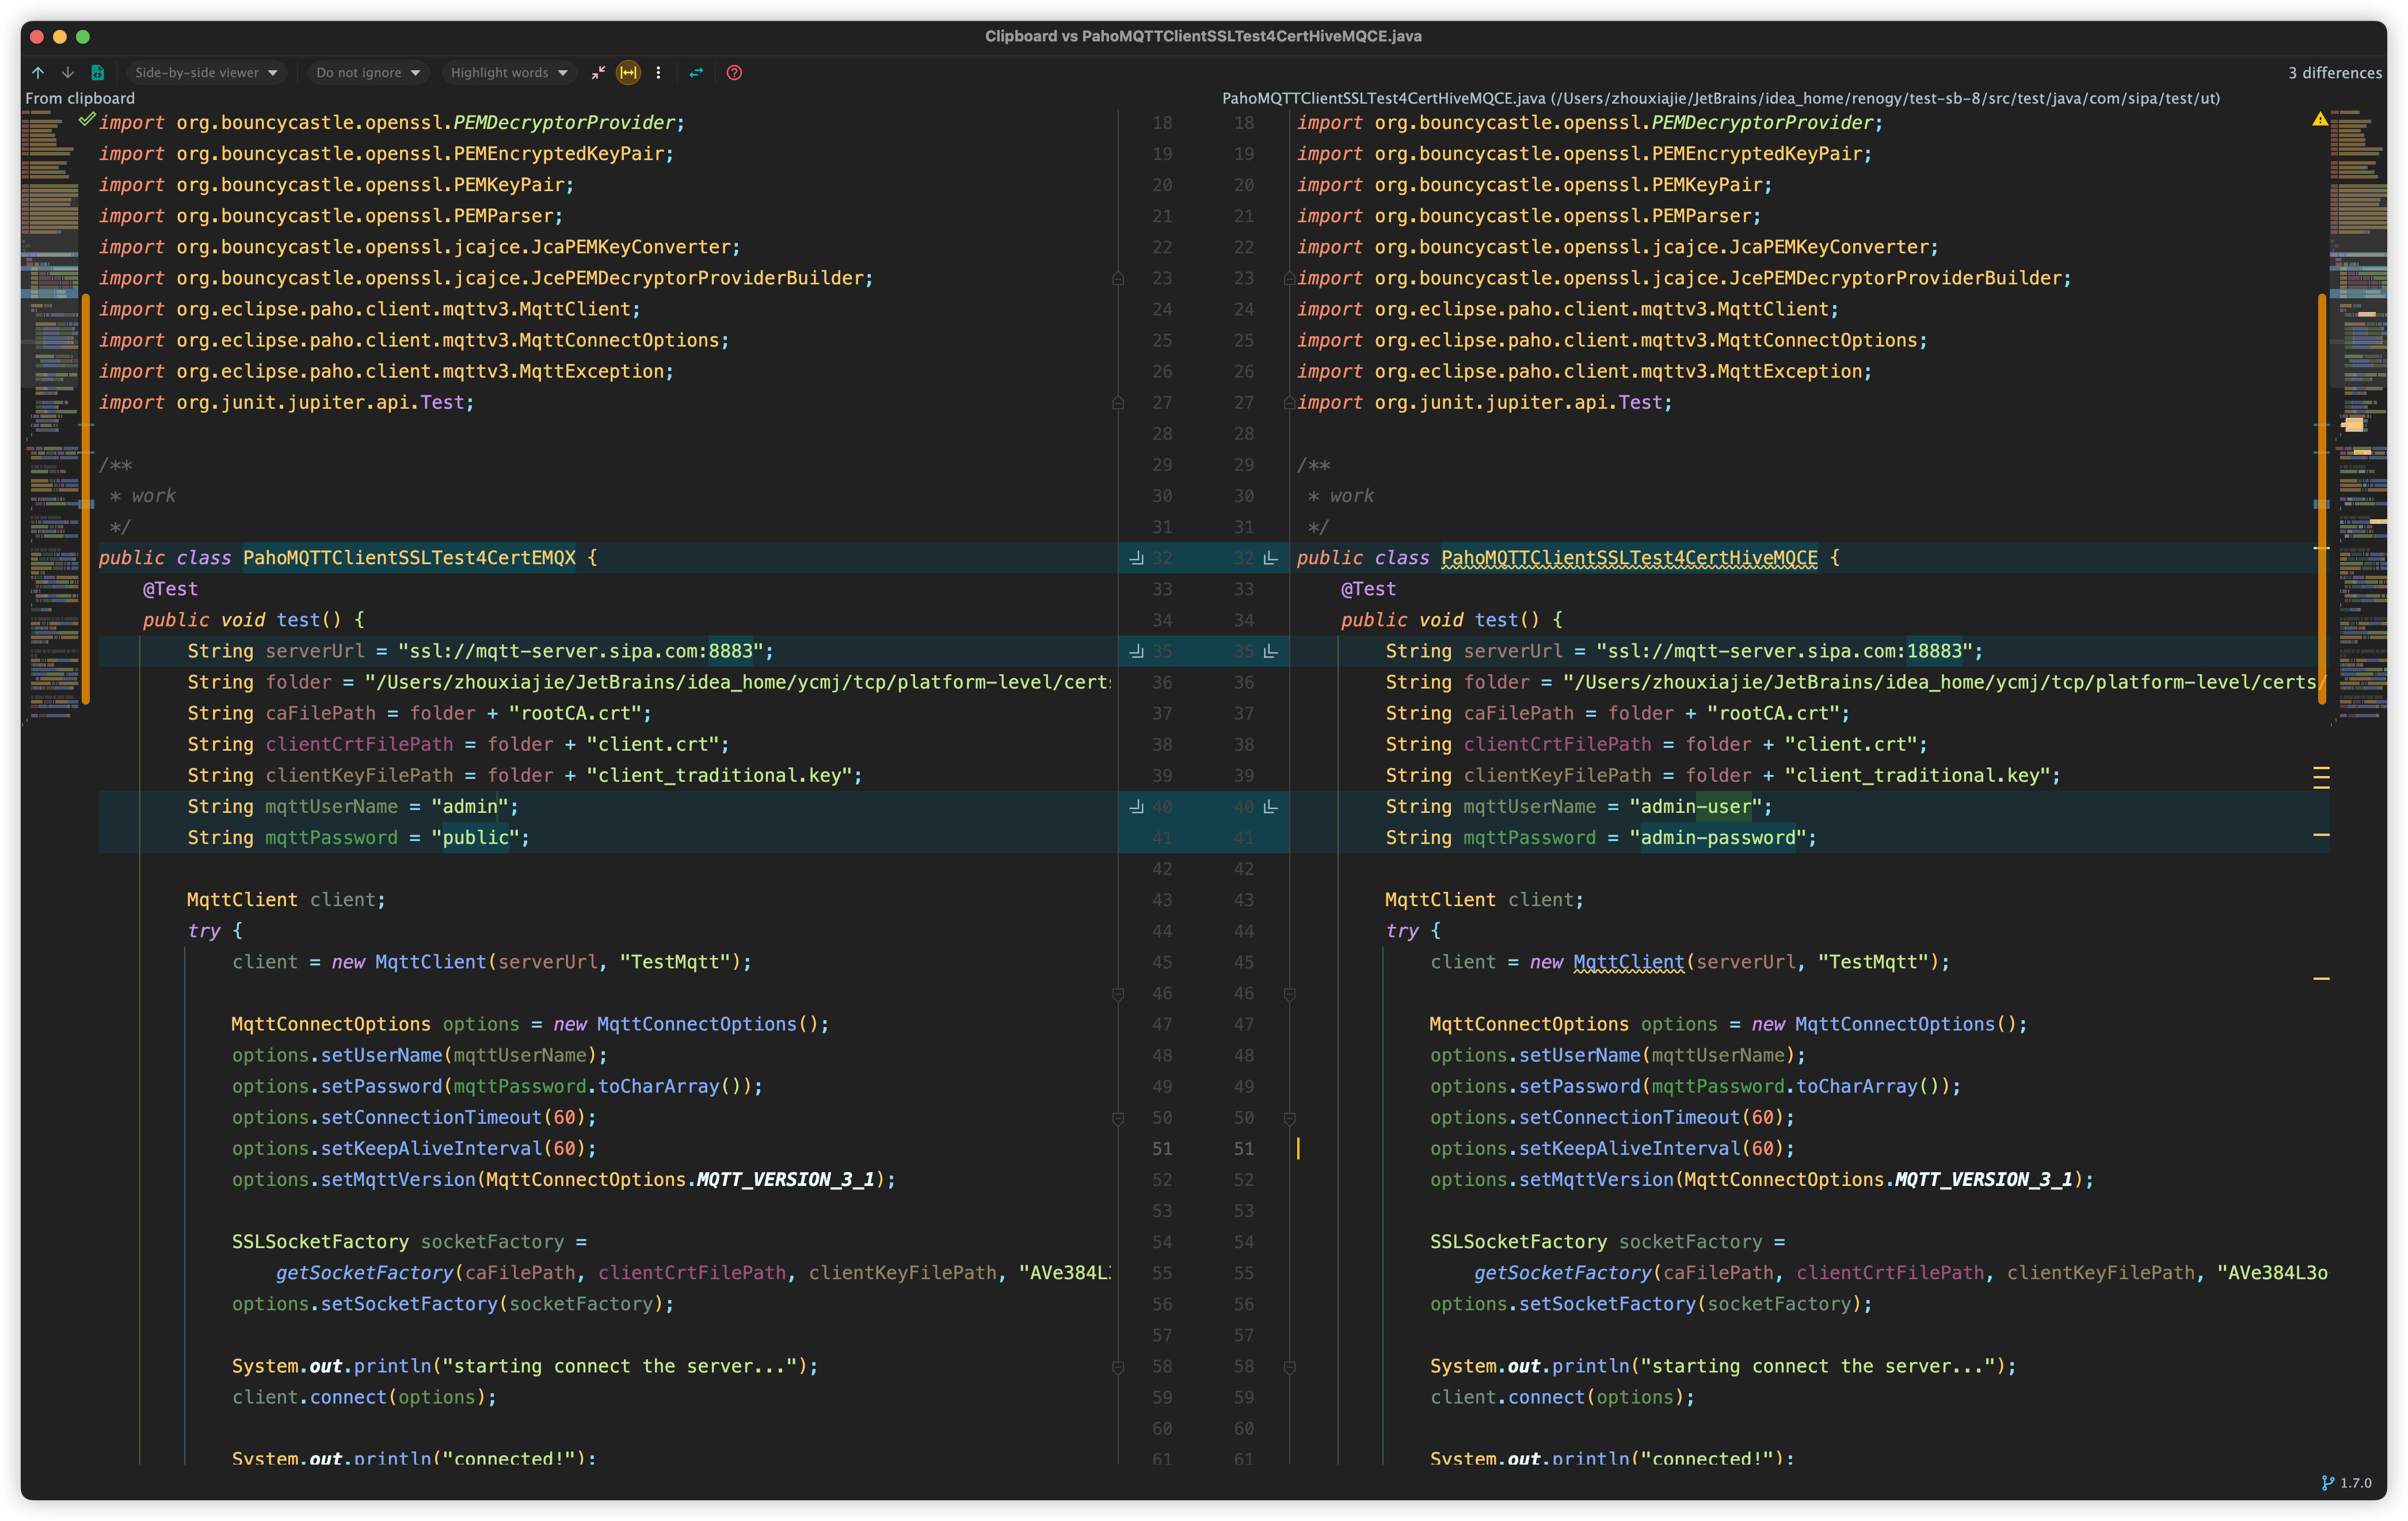
运行结果同上
java mica客户端测试
复制对应emqx的配置,修改如下
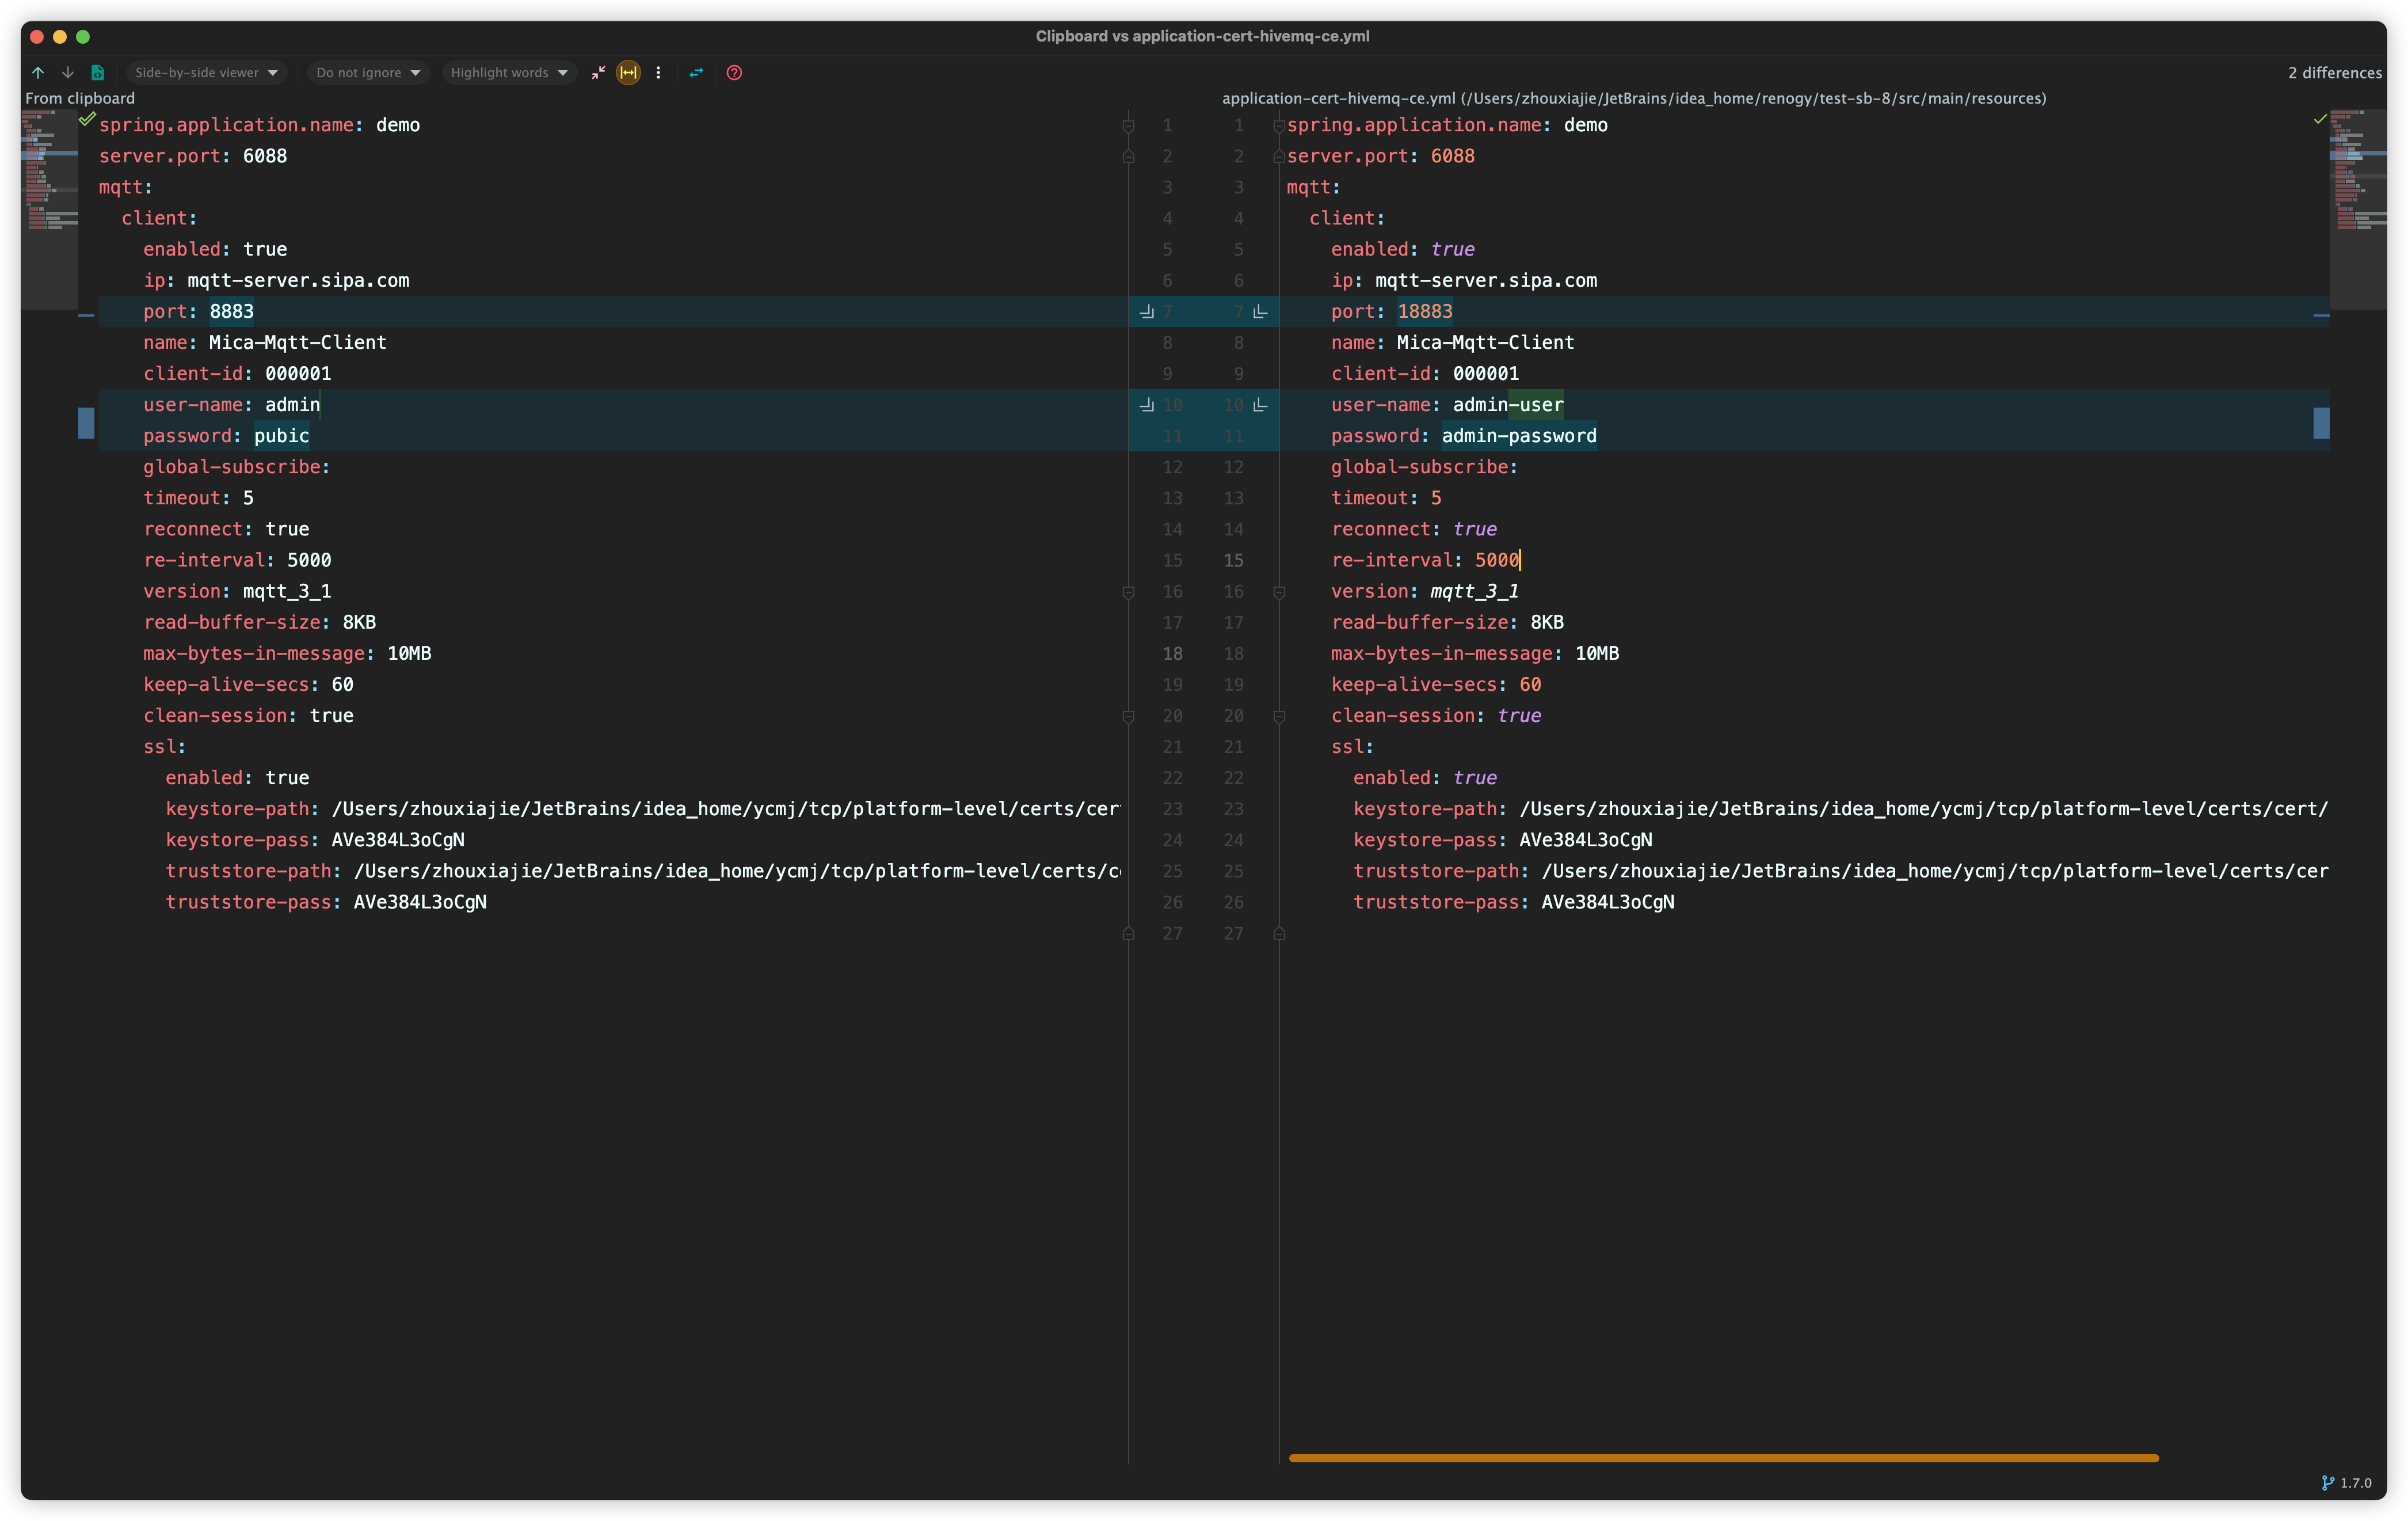
运行结果同上
总结
EMQX 部署时可以使用最常见的证书格式,而 HiveMQ CE 由于是基于 Java 开发,因此需要使用 Java 特定的证书格式。
在选择客户端时,可以使用现成的封装版本,也可以根据具体场景自定义封装。